The P Subohm tank was sent to me for review from Geekvape (check it out here). This is a tank that uses pre-built coilheads and it has one especially interesting feature; it has an airflow control in the middle of the tank.
Specs
- Top fill
- Mid-tank airflow control
- 5ml liquid capacity
- Size: 26mm diameter, 59.35mm tall
- Colors: Gunmetal, Stainless Steel, Black, Blue, Rainbow, and Gold
- $30 from Geekvape.com
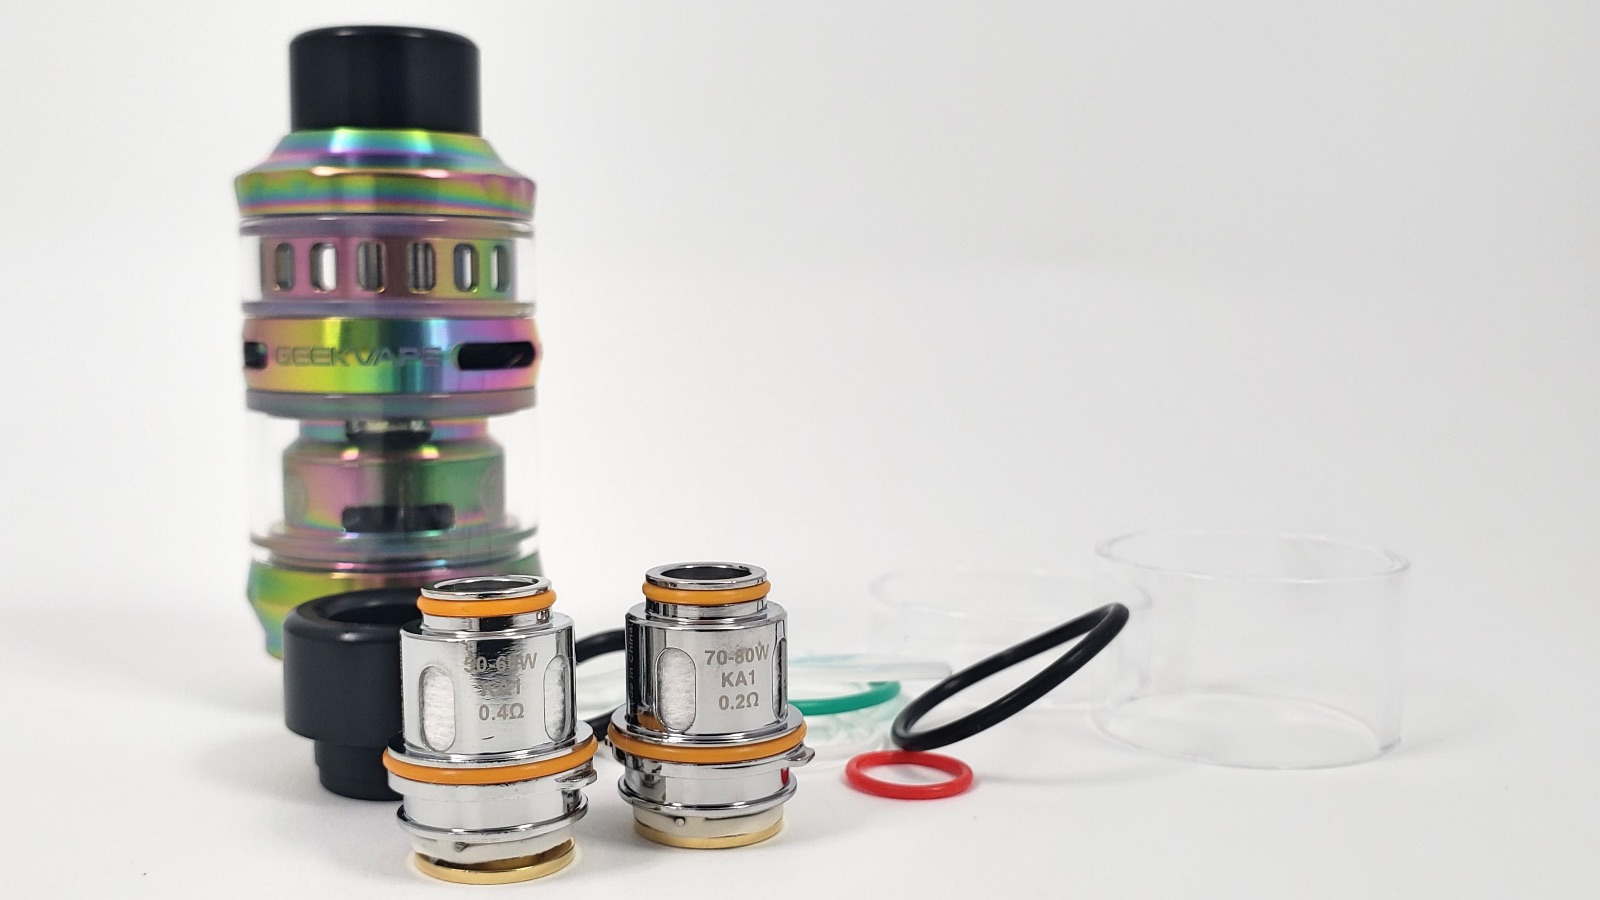
In the Box
- P Subohm Tank
- Two coils
- Two spare glass tanks
- Spare drip tip
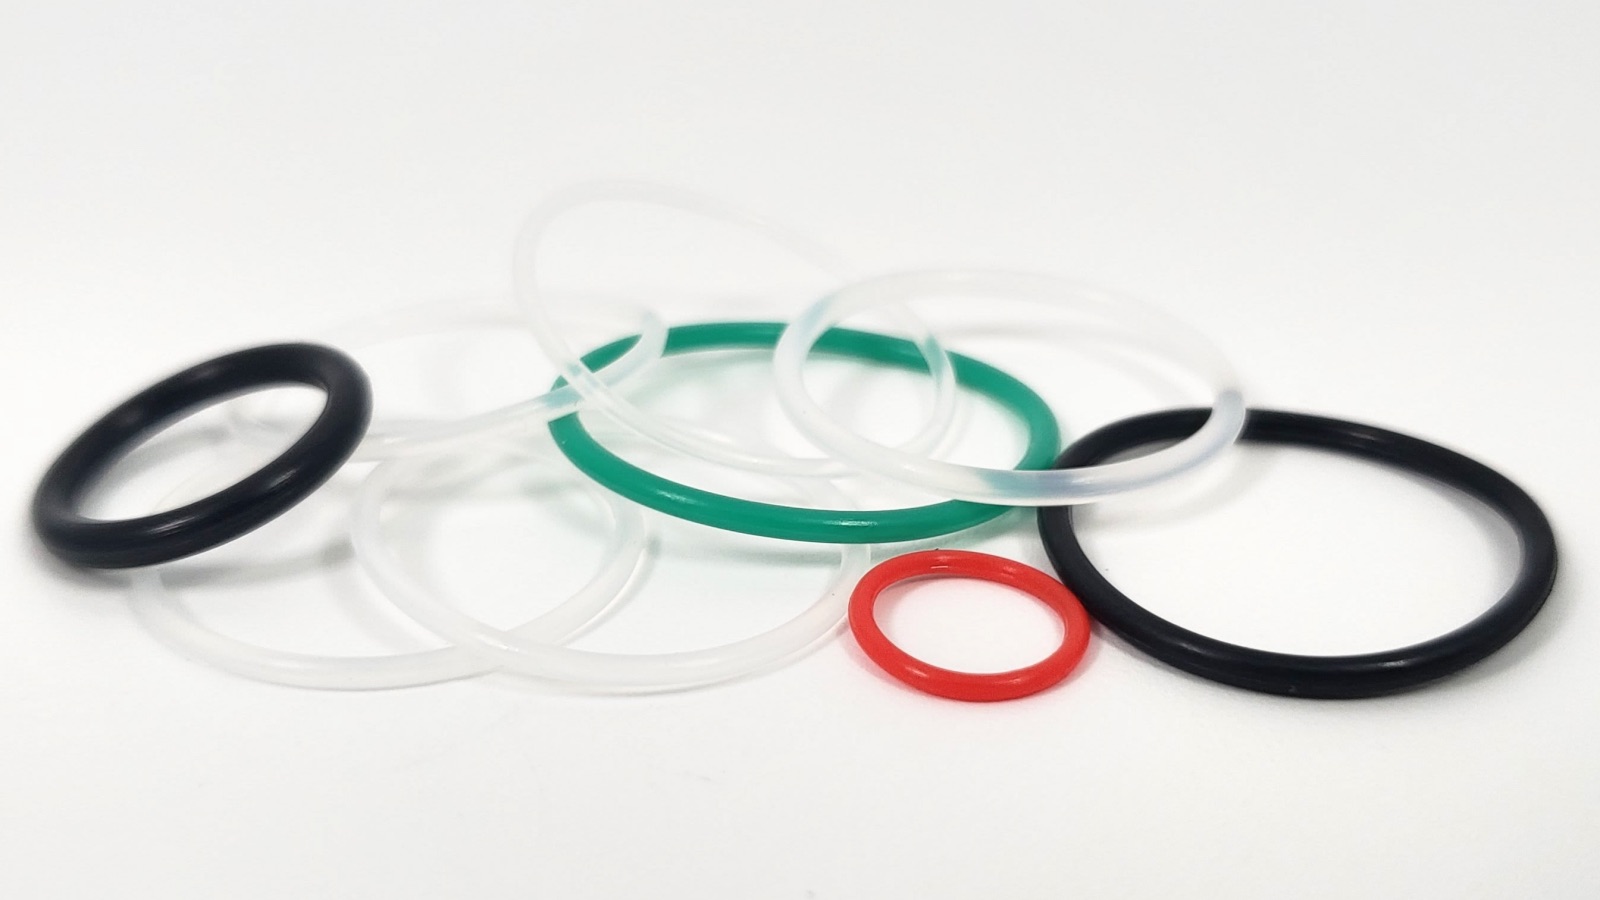
- Spare parts and accessories
Design
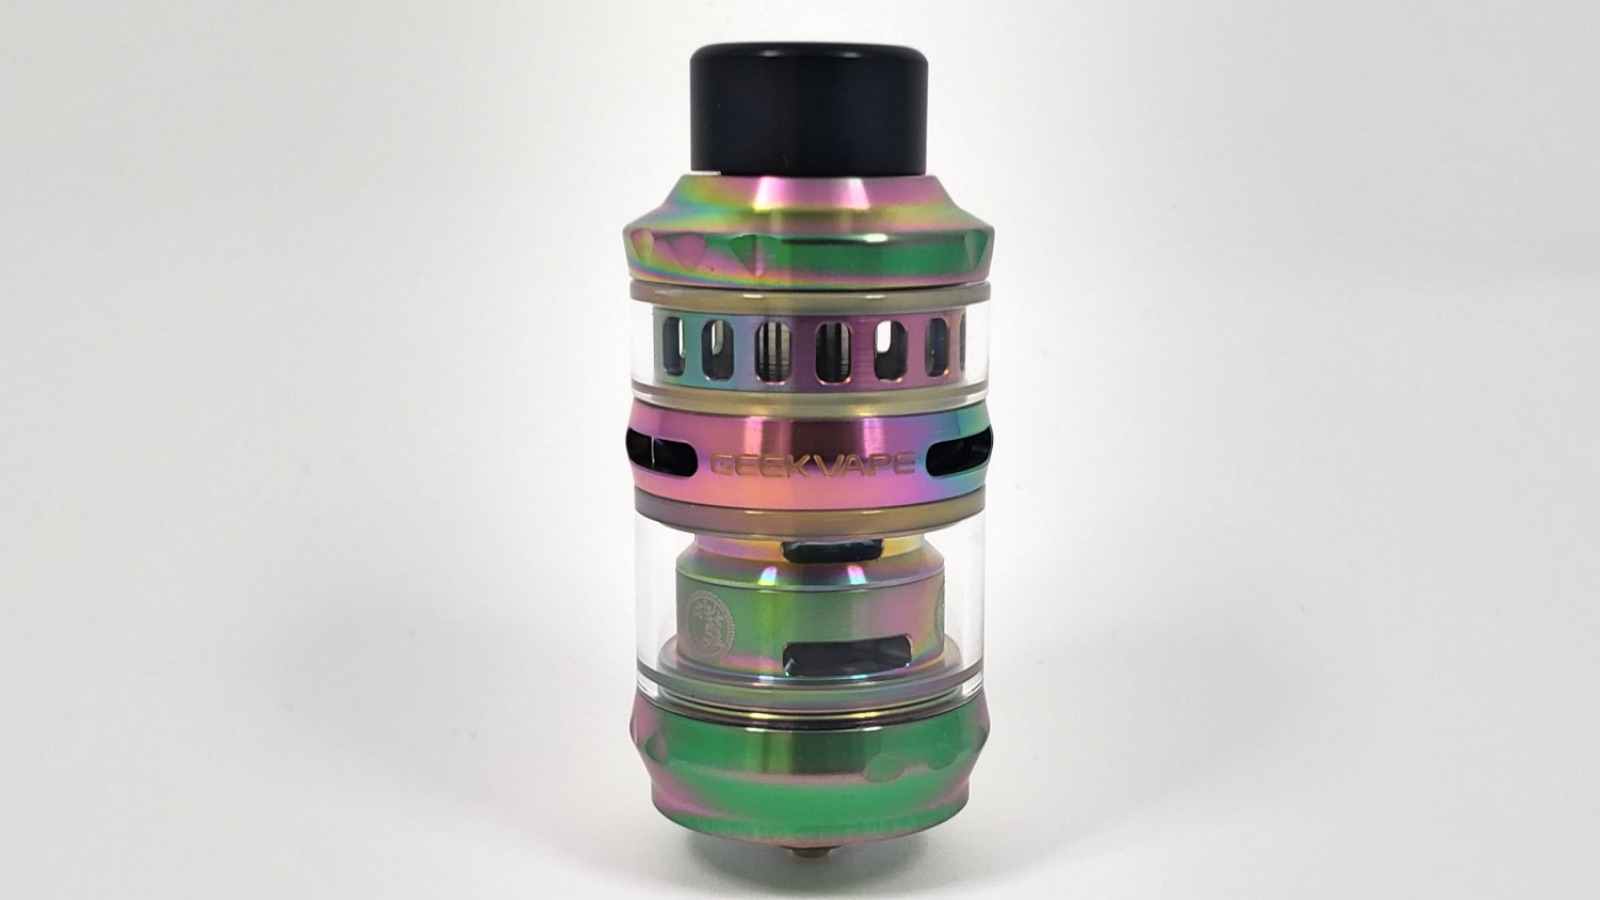
The design of this tank is really unique. One of the first things you’ll notice is that the airflow control ring is in the middle of the tank. It’s the first time I’ve ever seen anything like this. And because it’s in the middle, there are two glass sections of the tank, one below the airflow control ring and one above.
Above the airflow control is an internal ring with a slotted design which I don’t think does anything for performance but just gives the design a little more character. And then at the bottom of the tank, the base slims down where it connects to the device.
I think the tank looks good but it’s a little long at about 2.3 inches.
One other feature of the tank is that it’s shockproof. I’ve never heard that described of a tank before but that’s what Geekvape says. The reason it’s shockproof is that the metal frame of the tank, including the base, airflow, and top cap, are all wider than the glass. So if you drop the tank, it’s more likely to make impact with those parts, rather than the glass. I don’t know if I’d call it shockproof but probably very resistant to it.
Drip Tip
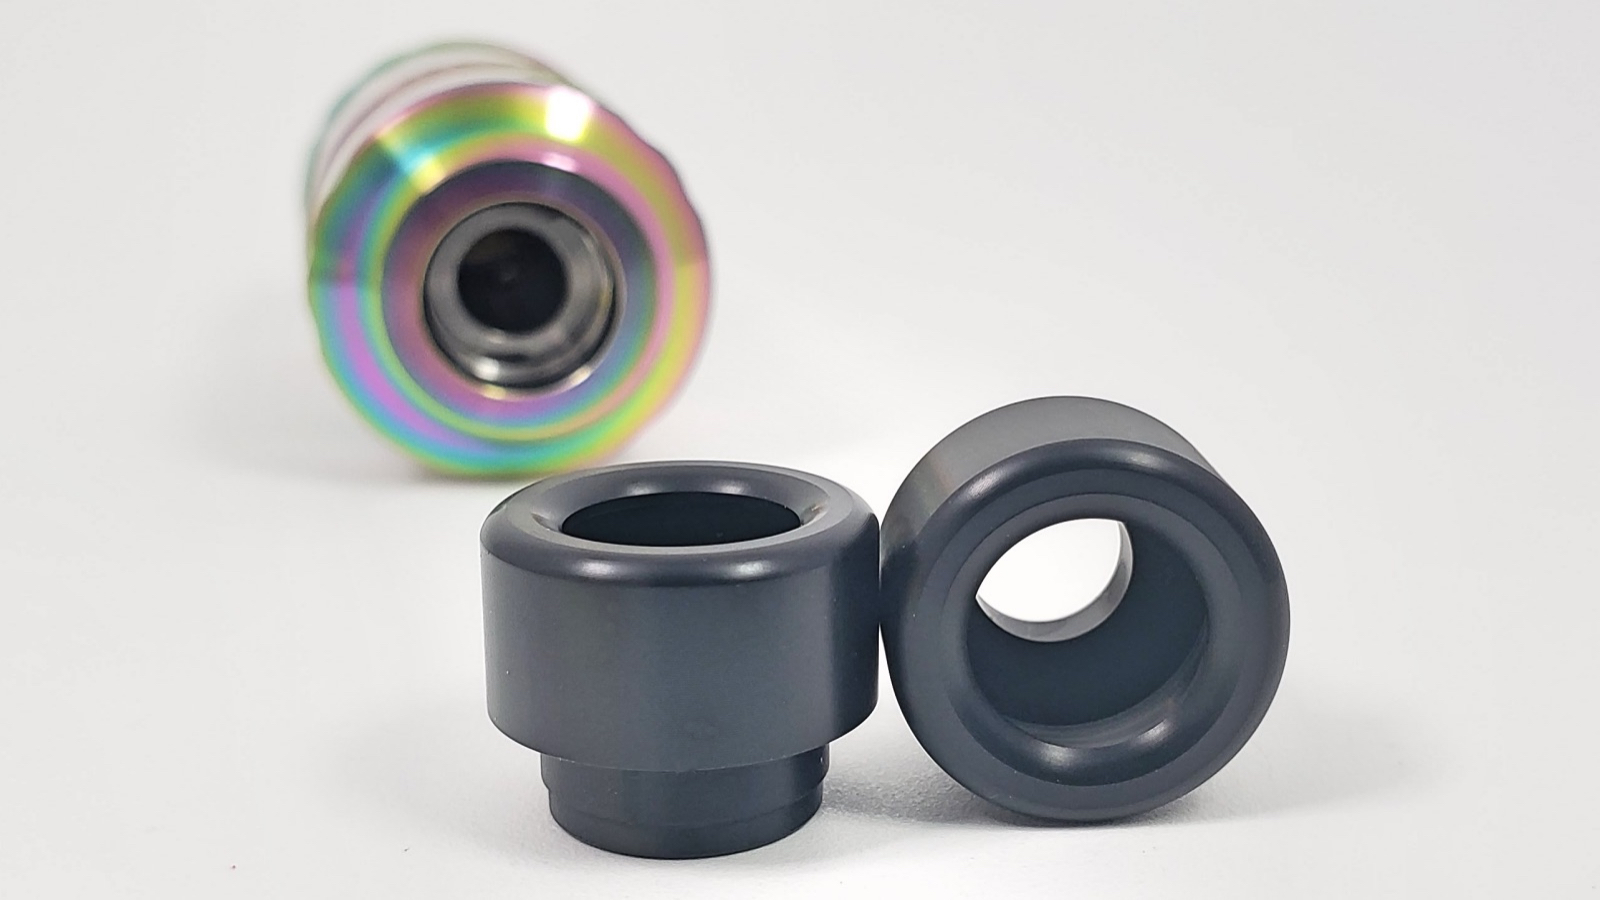
You get two drip tips in the box. The pre-installed drip tip is a plain black 810 drip tip and the spare tip is exactly the same.
Top Cap

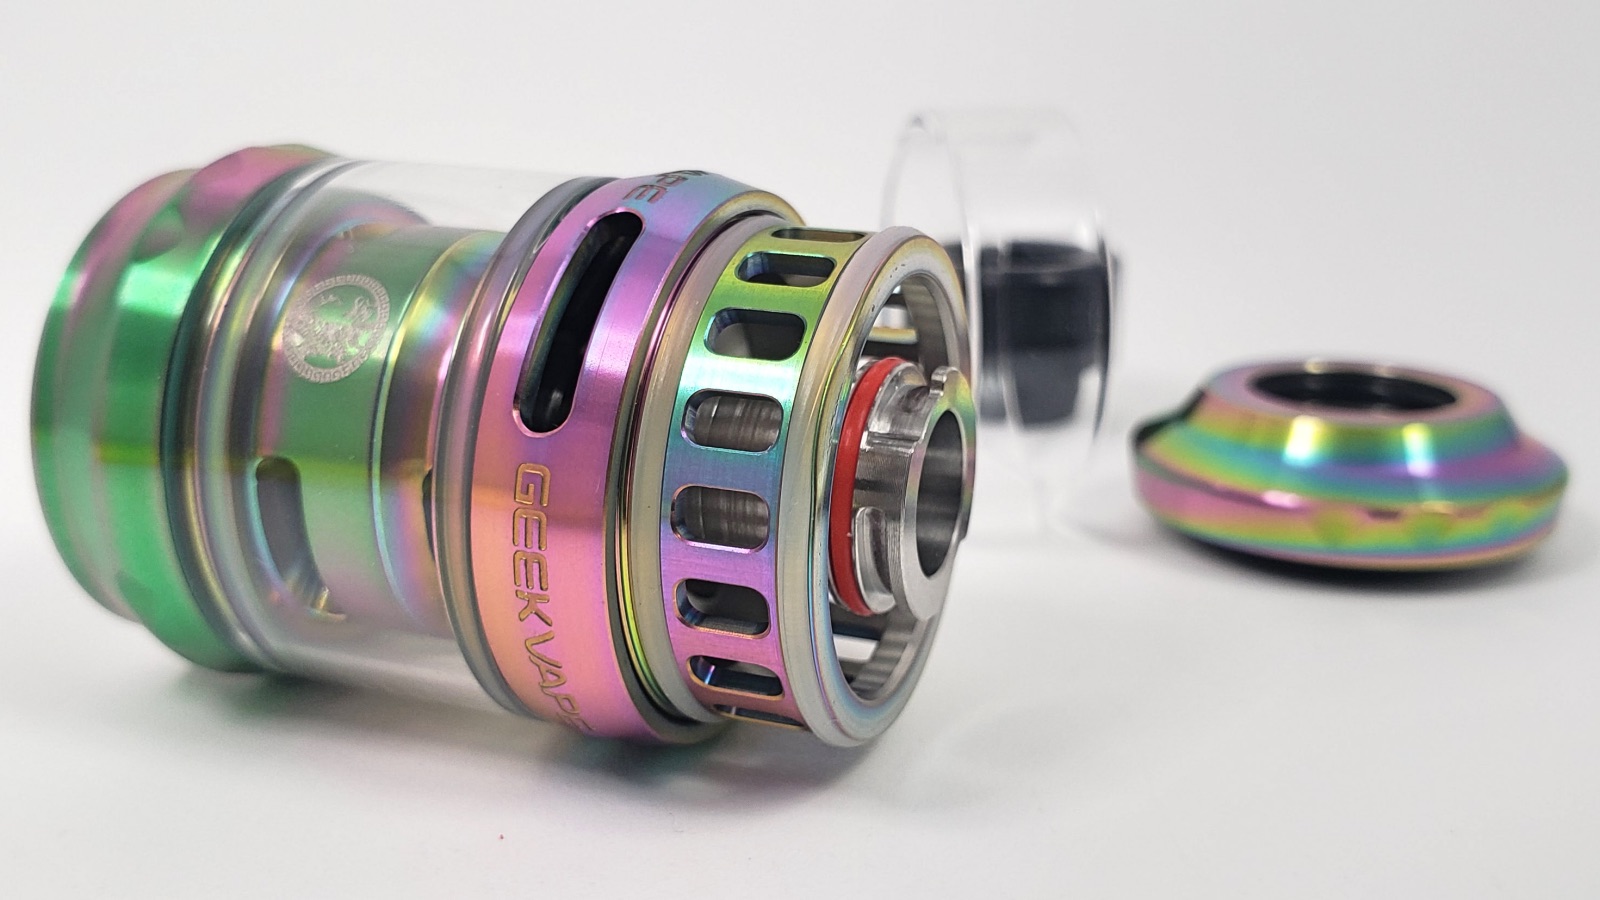
The top cap comes off with a quarter turn. It’s easy to take off and it has a really nice seal. From there you get access to three liquid fill ports. Now since this tank has a section above the airflow control, you actually fill it up above the airflow. Geekvape recommends filling it up to the little red o-ring inside.
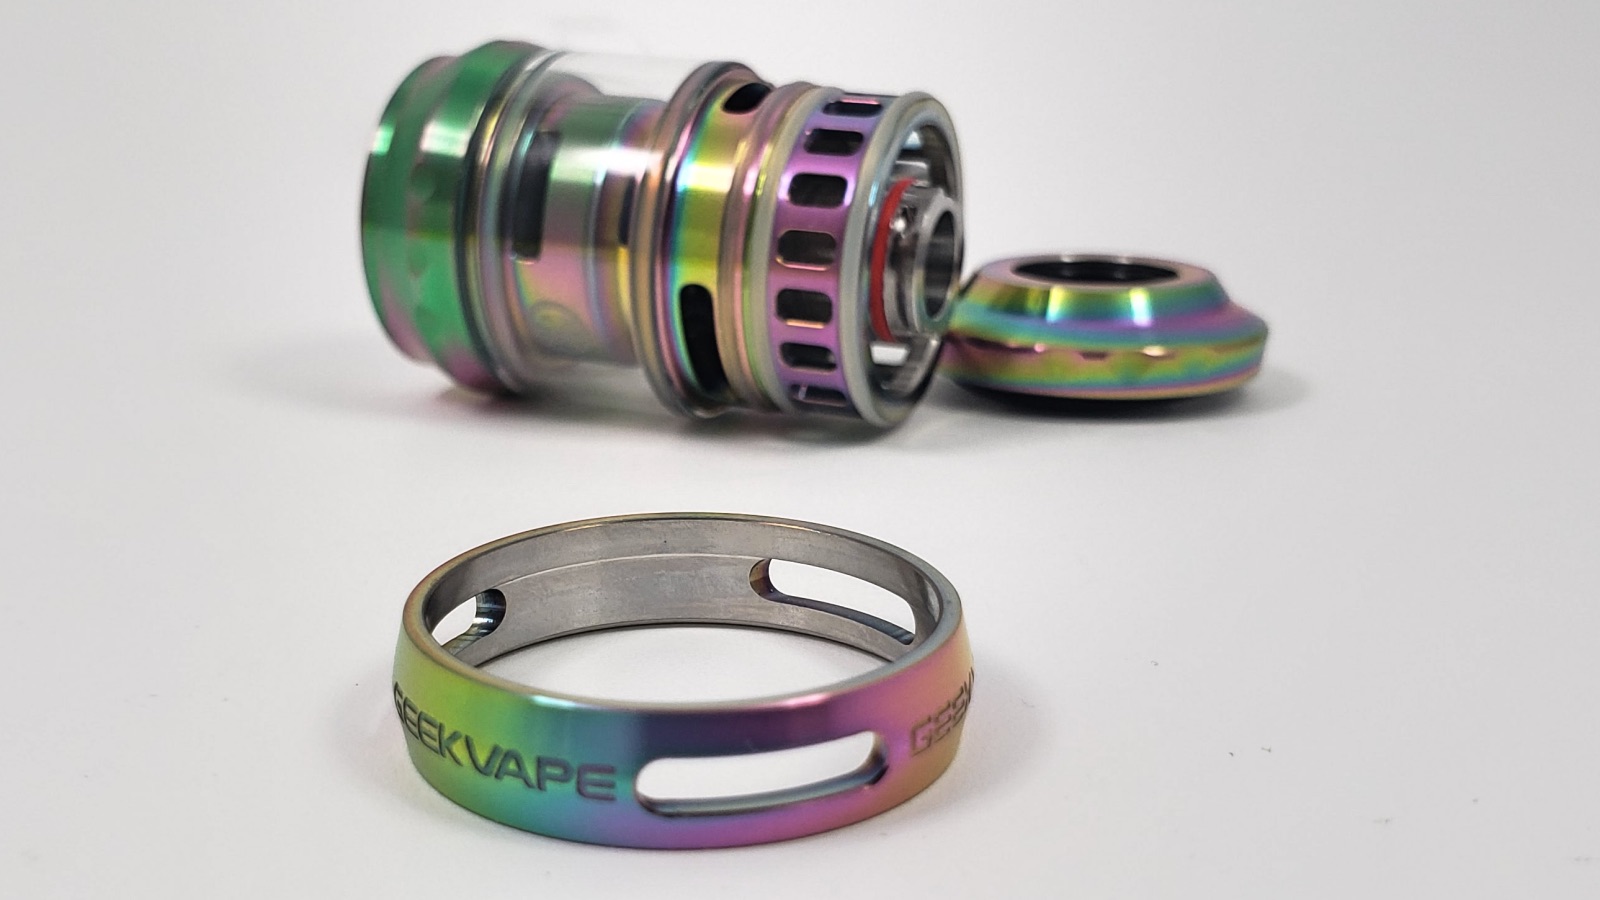
Tank Section
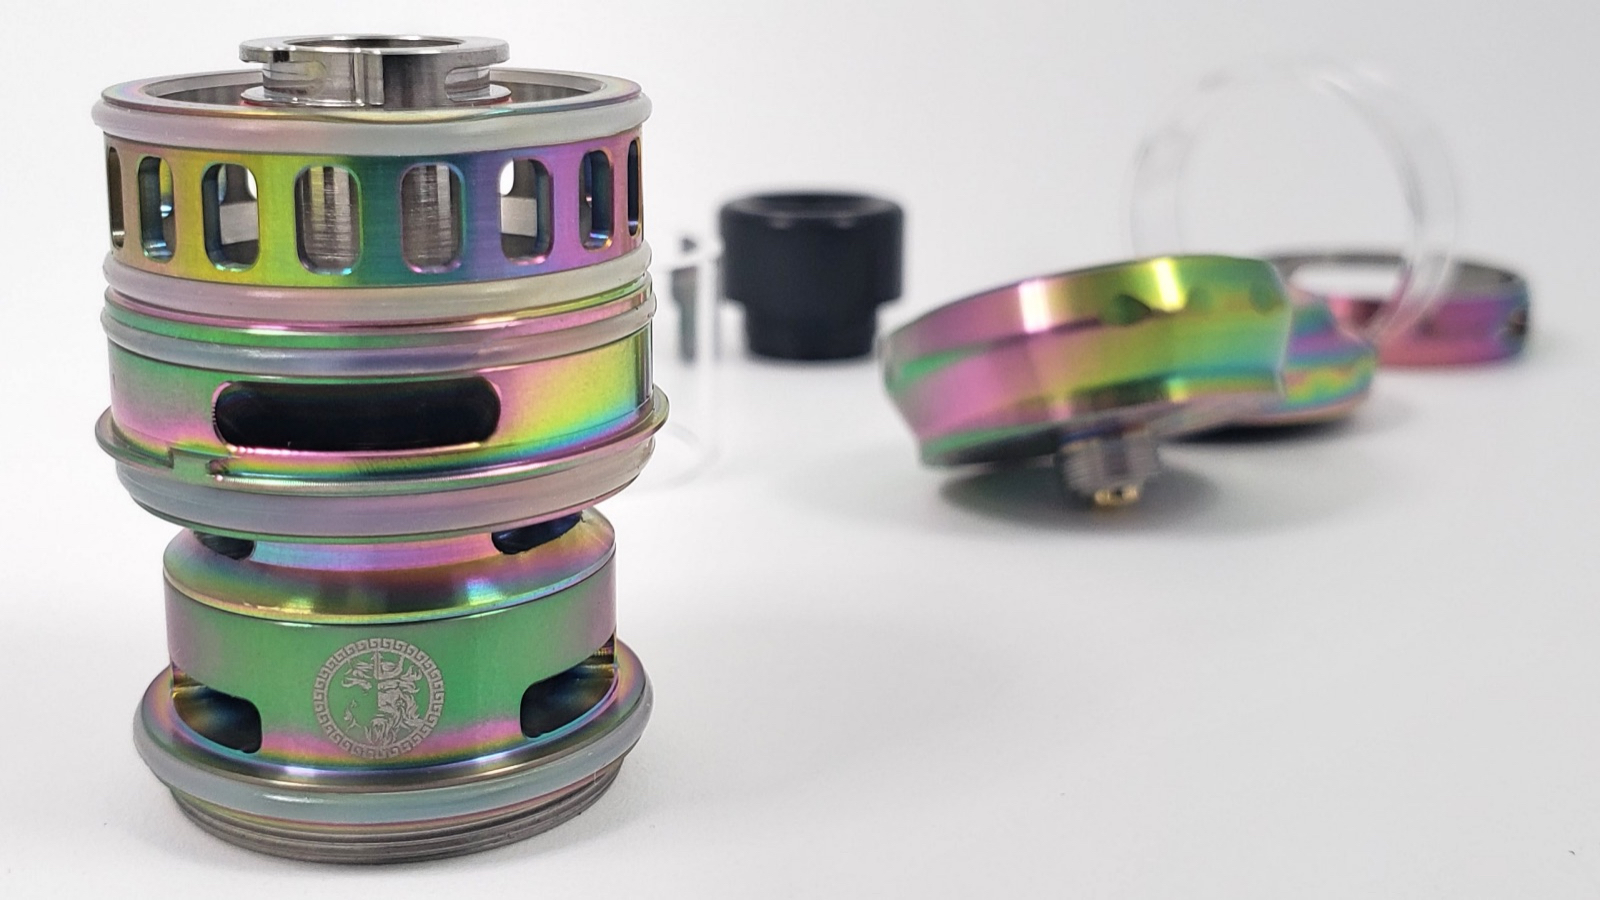
The whole tank comes apart after you remove the top cap and the base. You have two glass tubes, the airflow control, and the chimney section. And that airflow control ring comes off too so that you can clean it. You also get two spare glass tanks in the box too, which is nice in case you break one.
Geekvape also says that because of the way this airflow is designed, it’s leakproof. And it makes sense because it’s really like a top airflow tank which are usually leakproof. The only difference here is that there’s another liquid chamber above the airflow but it’s partitioned from the airflow so it can’t leak into it.
Airflow
The airflow is a very different feature of this tank because it’s in the middle of the tank. Well not exactly in the middle but it sits between the two glass tanks. It might seem a little gimmicky, and maybe it is, but I’m thinking that one of the benefits of doing it this way is that the airflow is closer to the coil so that might help it perform better.
The airflow comes in from three airflow slots which give this a lot of airflow if you open it wide up. Geekvape says this has precise airflow control. So I would take that to mean that as you adjust the airflow, minor adjustments make noticeable differences. And it really does seem pretty precise. You can feel the difference with every little adjustment.
With all of the airflow holes wide open you’ll get a somewhat restricted lung draw. So you can’t breathe right through this one. And at the most closed setting it nearly closes down but it’s still a lung draw.
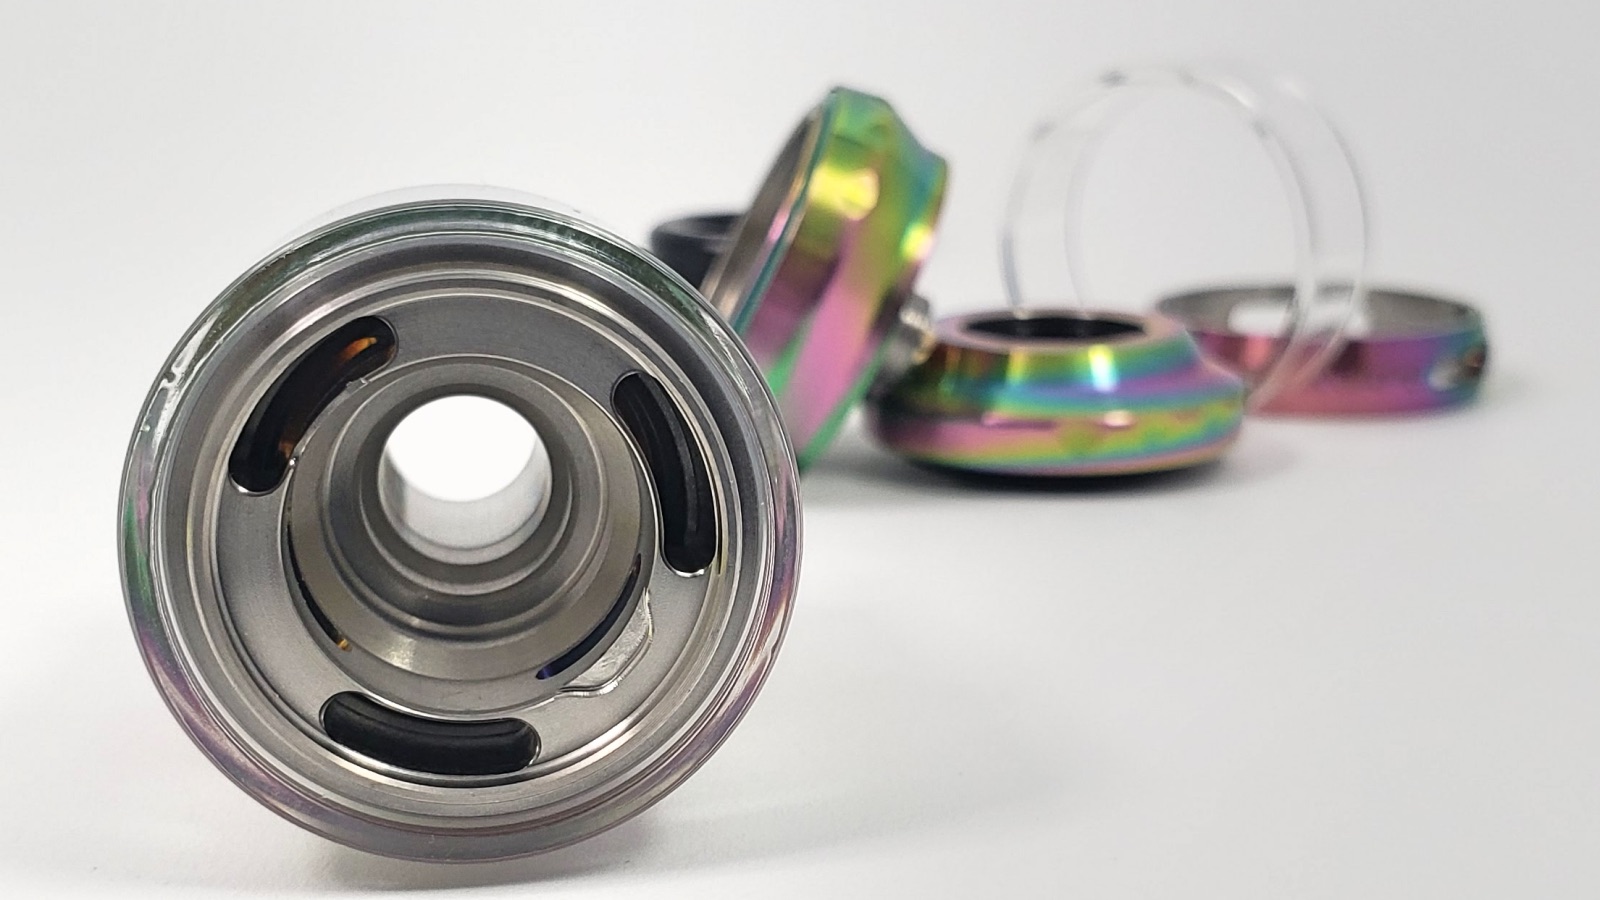
The airflow comes in from the top, goes down the sides, and comes up from under the coil.
Coils
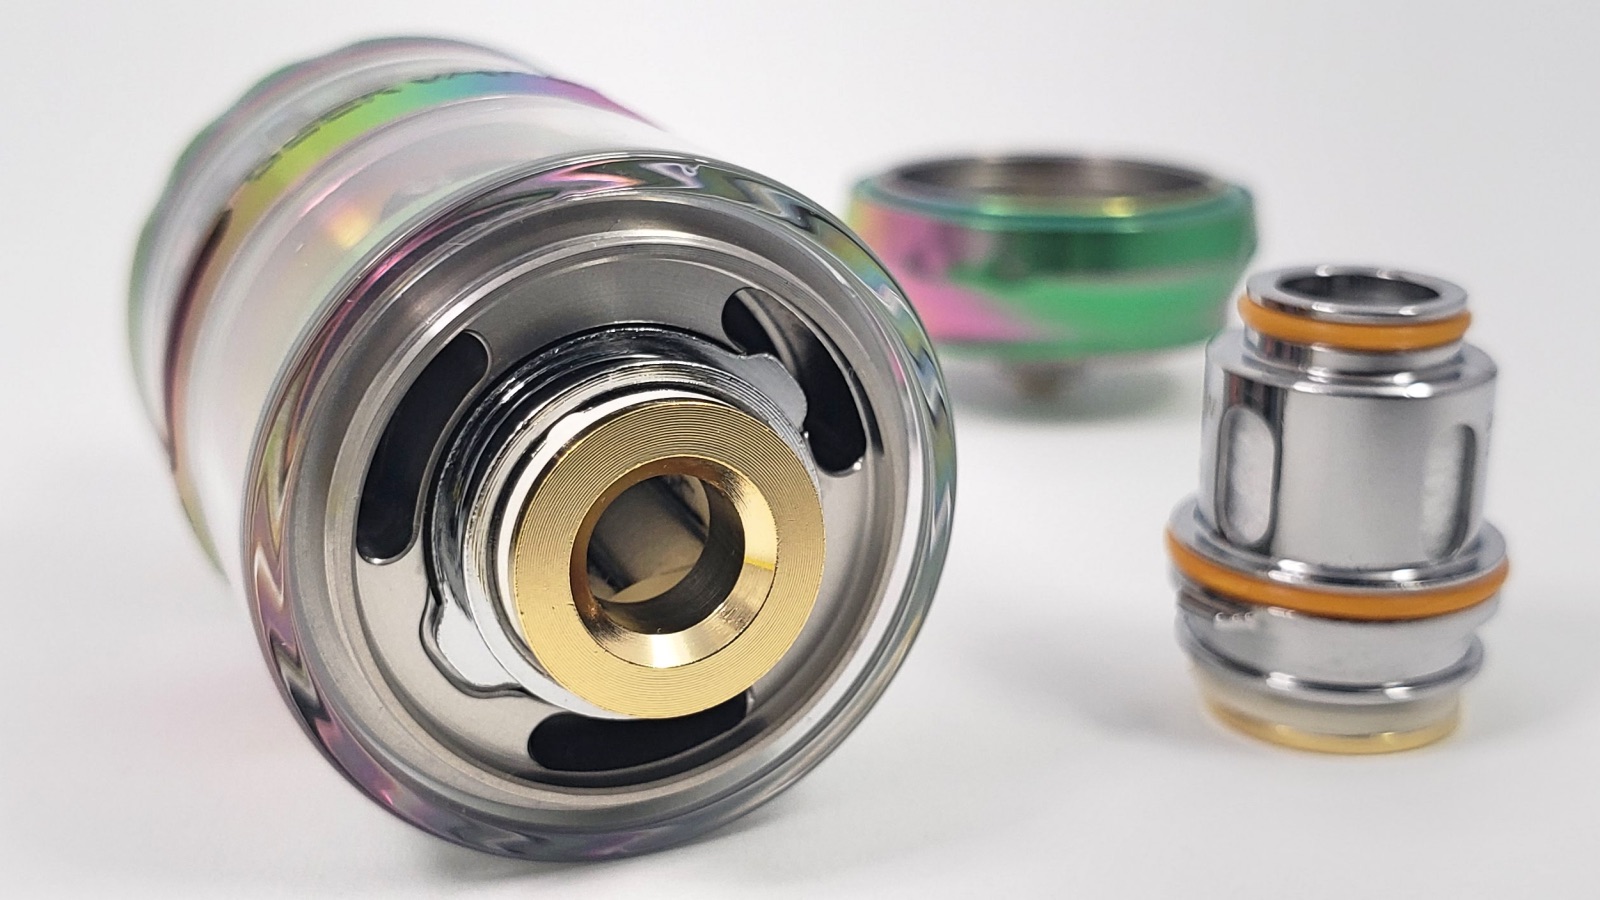
The coils are press-fit into the bottom of the tank. This is a nice design because you’re able to change the coils while the tank is full. So just push the coils in and make sure the little tabs on the coils are in the slots on the tank so that it seals properly.
The tank comes with two coils, both of which I’ve already used in the Obelisk tank review I did. And they perform the same here as they did before.
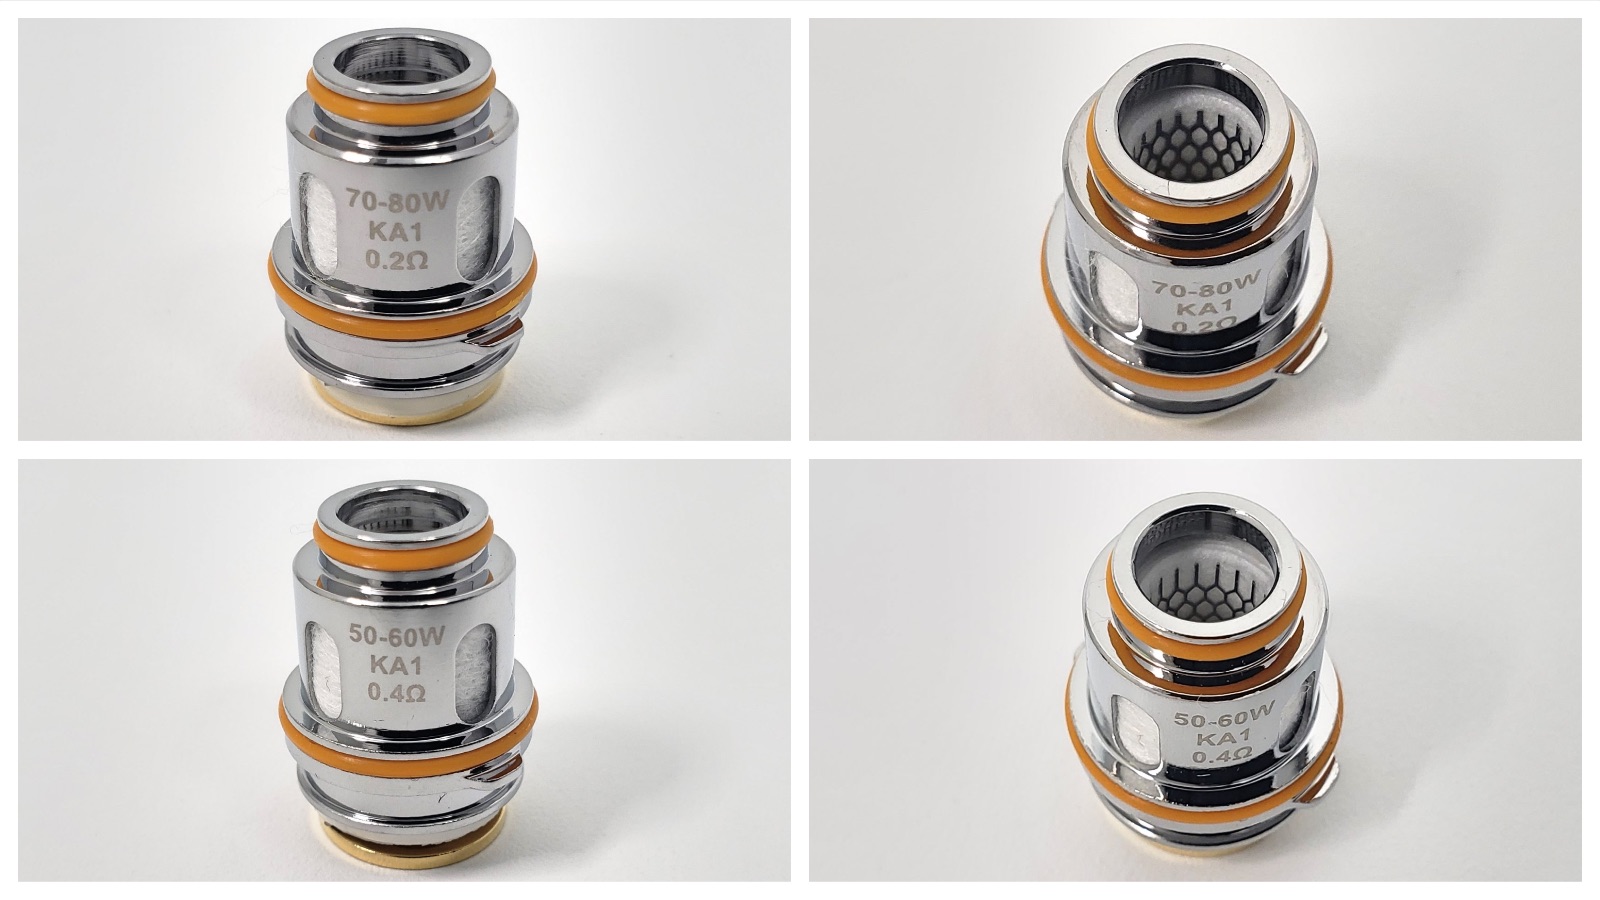
Z0.2
This coil is pre-installed. It’s a 0.2 Ohm mesh coil head rated for 70-80 watts. This coil has so much flavor. It’s just really good at both 70 and 80 watts. And it performs great too. Just feels really good to use. At 80 watts you get a lot more heat for those of you who like hotter hits.
Z0.4
This is a 0.4 Ohm mesh coil head rated for 50-60 watts. And again, it performs well and has great flavor. I mean really good. Maybe not as much flavor as the 0.2 but this is an awesome coil at 50 through 60 watts.
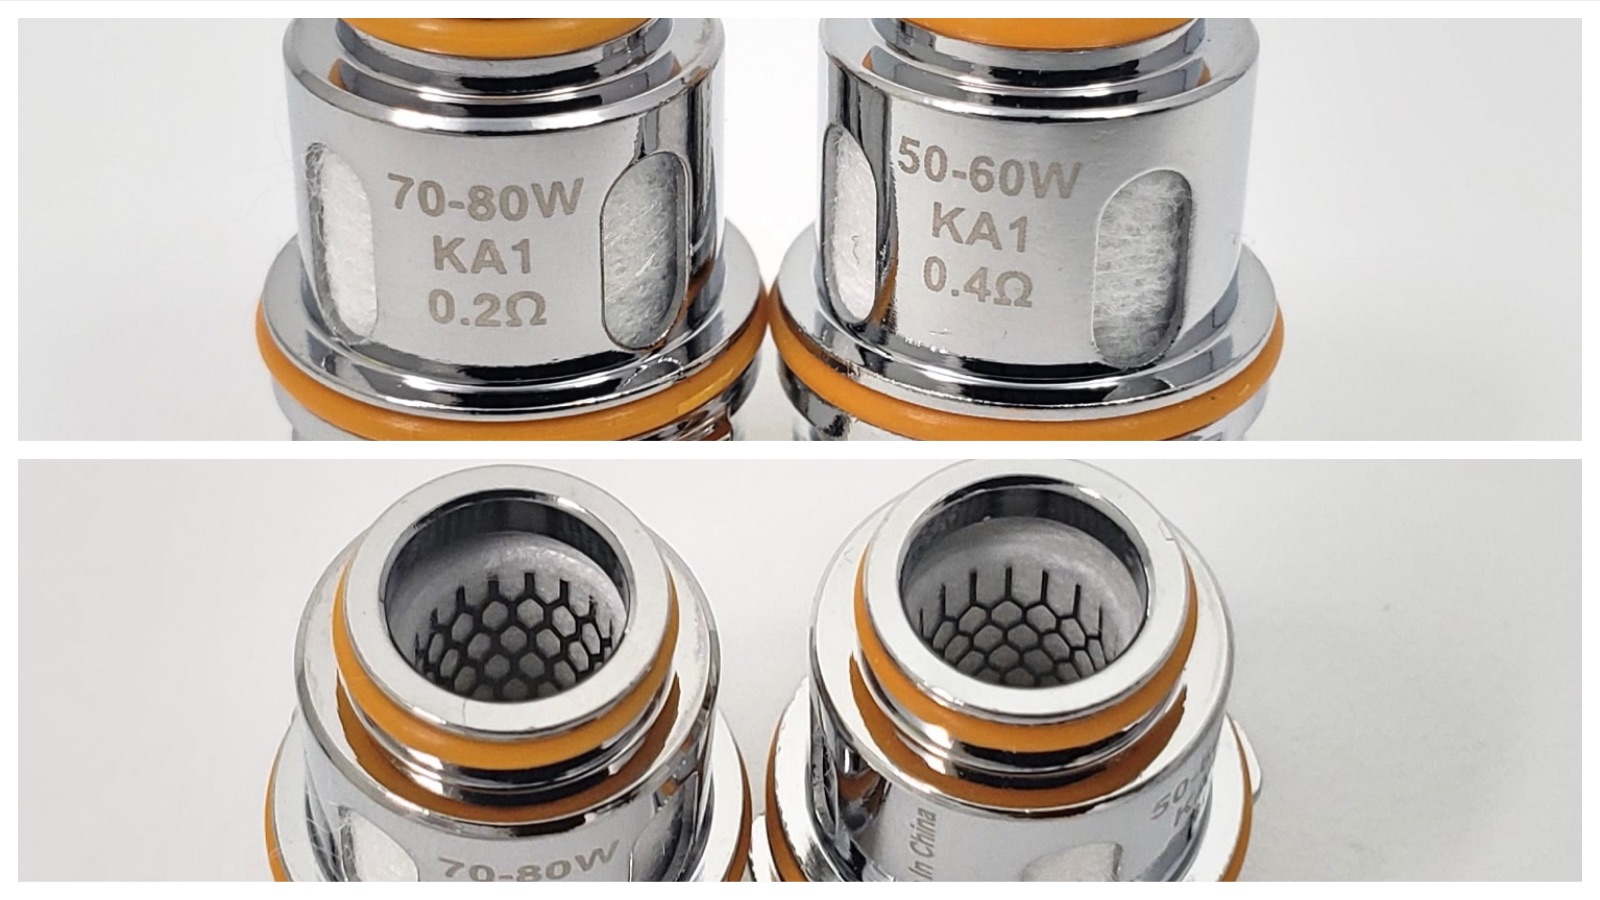
The P Subohm tank uses Geekvape’s line of Z-series coils so any Z coil will fit in this tank.
Final Thoughts
The P Subohm tank performs really well. I think it looks nice and the middle airflow feature is a really cool idea. I like that the longer tank gives you more liquid capacity too. As far as performance goes, I don’t think there’s really anything different in this tank than with other good sub-ohm tanks. But there’s nothing wrong with that. I think if you’re in the market for a nice sub-ohm tank that performs well and you just want something a little different, this is a good tank to pick up.
The Geekvape P Subohm tank was sent to me for review from Geekvape and you can pick it up from them for about $30.
Alex is a former smoker who successfully quit smoking after 14 years by switching to vaping. Now a pro-vaping advocate, Alex has become a seasoned expert with over a decade of experience in the vaping industry. Since starting his vaping journey in 2010, Alex has earned a reputation as a trusted reviewer, extensively testing all types of vape gear, including mech mods, sub-ohm tanks, RDAs, disposables, e-juices, boro devices, squonkers, dry herb vaporizers, and e-rigs. He’s also explored the craft of coil building and DIY e-juice.
Since 2015, Alex has published more than 800 in-depth articles on vaping, produced over 500 videos covering product reviews, industry news, and tips, contributed to several well-known vape publications, and hosted a popular vaping podcast featuring over 100 episodes and nearly 40 hours of content.