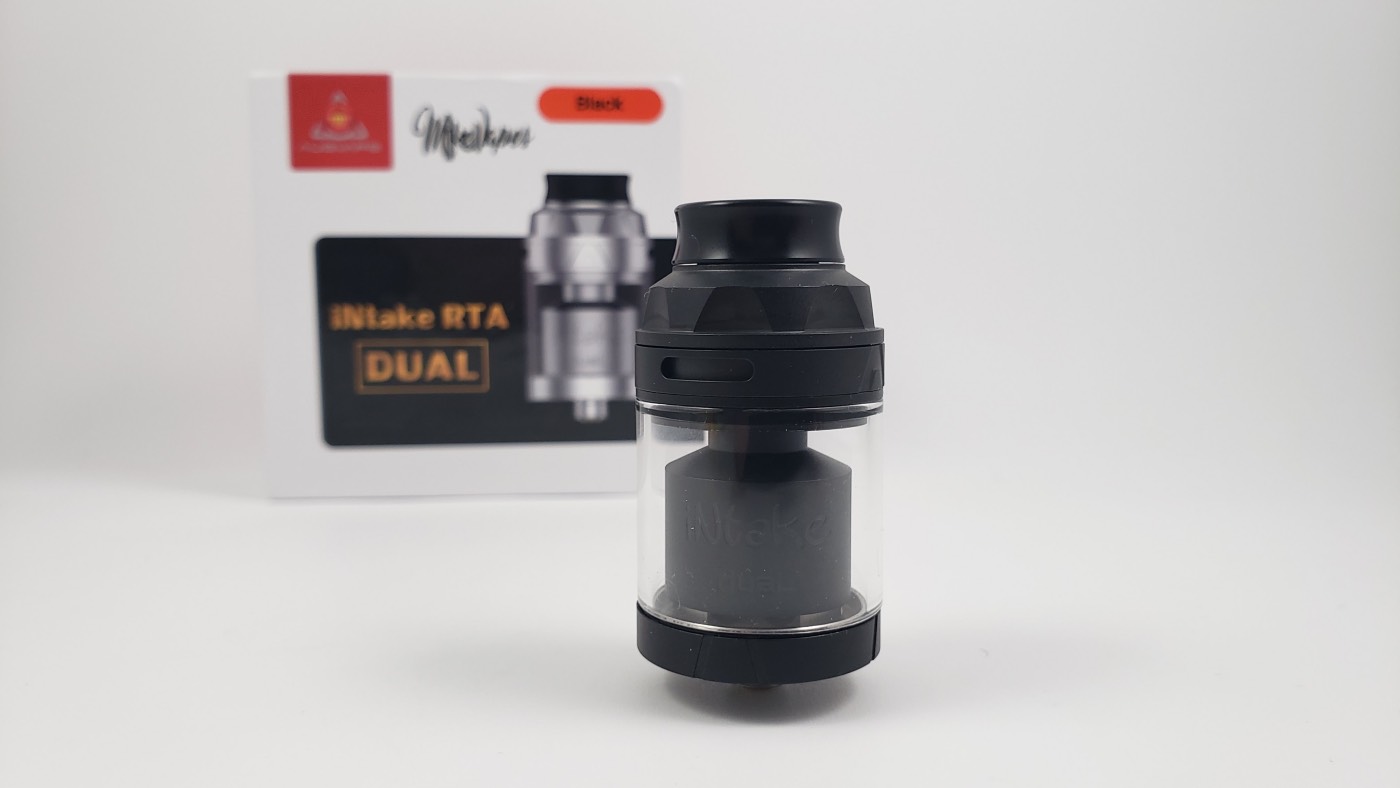
The Intake Dual RTA was sent to me for review from Augvape. Get it here. The original Intake RTA was a 24mm single-coil RTA that Augvape made in collaboration with Mike Vapes. The dual coil version is slightly larger at 26mm diameter and was also made in collaboration with Mike Vapes. I was a big fan of the original (see that review here). The flavor was pretty good and it was really easy to build and use. My biggest complaint with the original was that I wanted just a little more airflow. Well, now we’ve got it.
Design

The Intake Dual RTA looks a lot like the original. It looks very nice. On the outside, it looks almost identical. The main difference in the style is that the drip tip is curved and the base has a little less etching on it. It’s a nice looking tank.
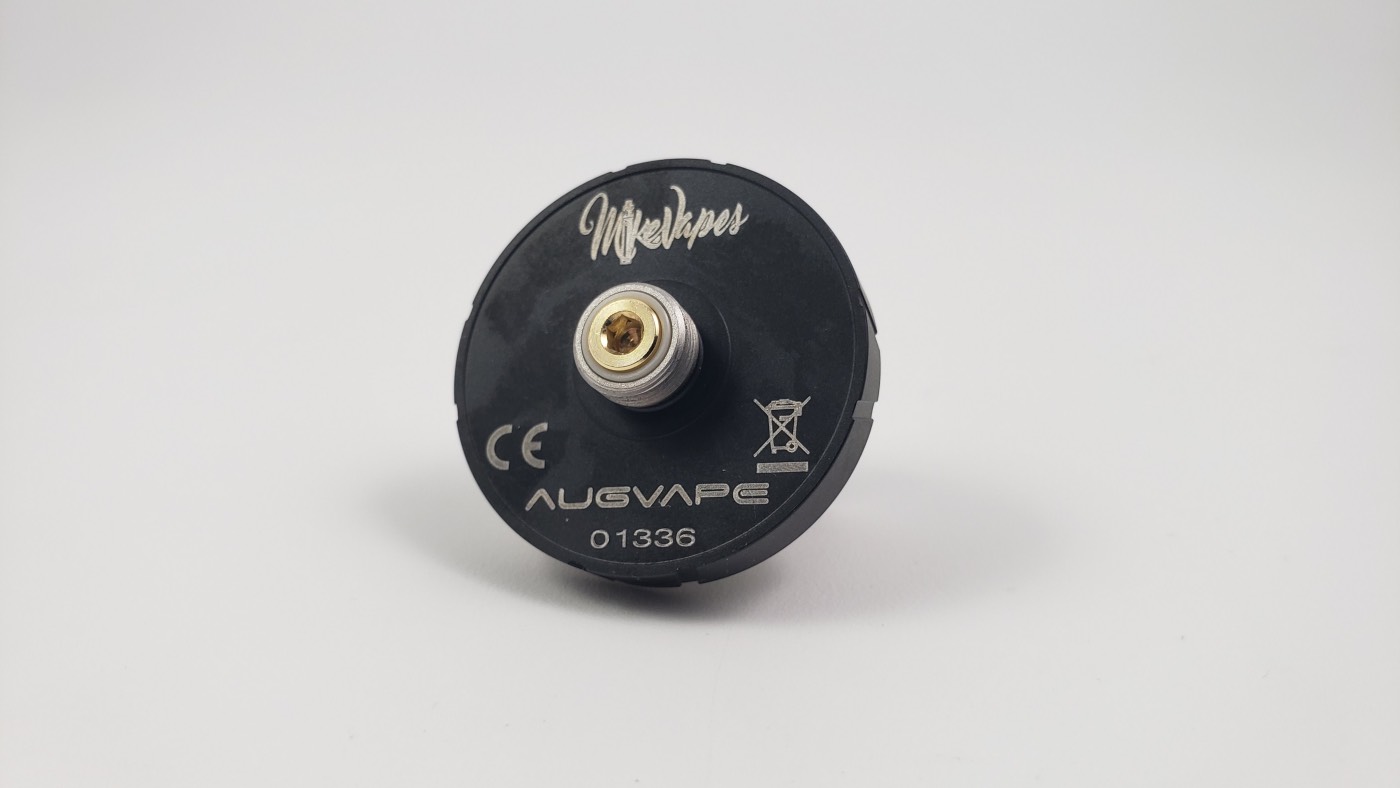
On the bottom is your standard 510 screw and this is a floating 510 pin, rather than a fixed pin like on the original.
Drip Tip
The drip tip on the Intake Dual is a low-profile wide bore tip. It’s slightly curved and it’s comfortable to use.
Top Cap and Fill Ports
The top cap unscrews from the top airflow section of the tank and gives you access to the big e-liquid fill ports. The top cap comes off easily and it seals well. I have no issues with it and I like the way it works.
The fill ports are nice too. They’re big and they’re easy to fill.
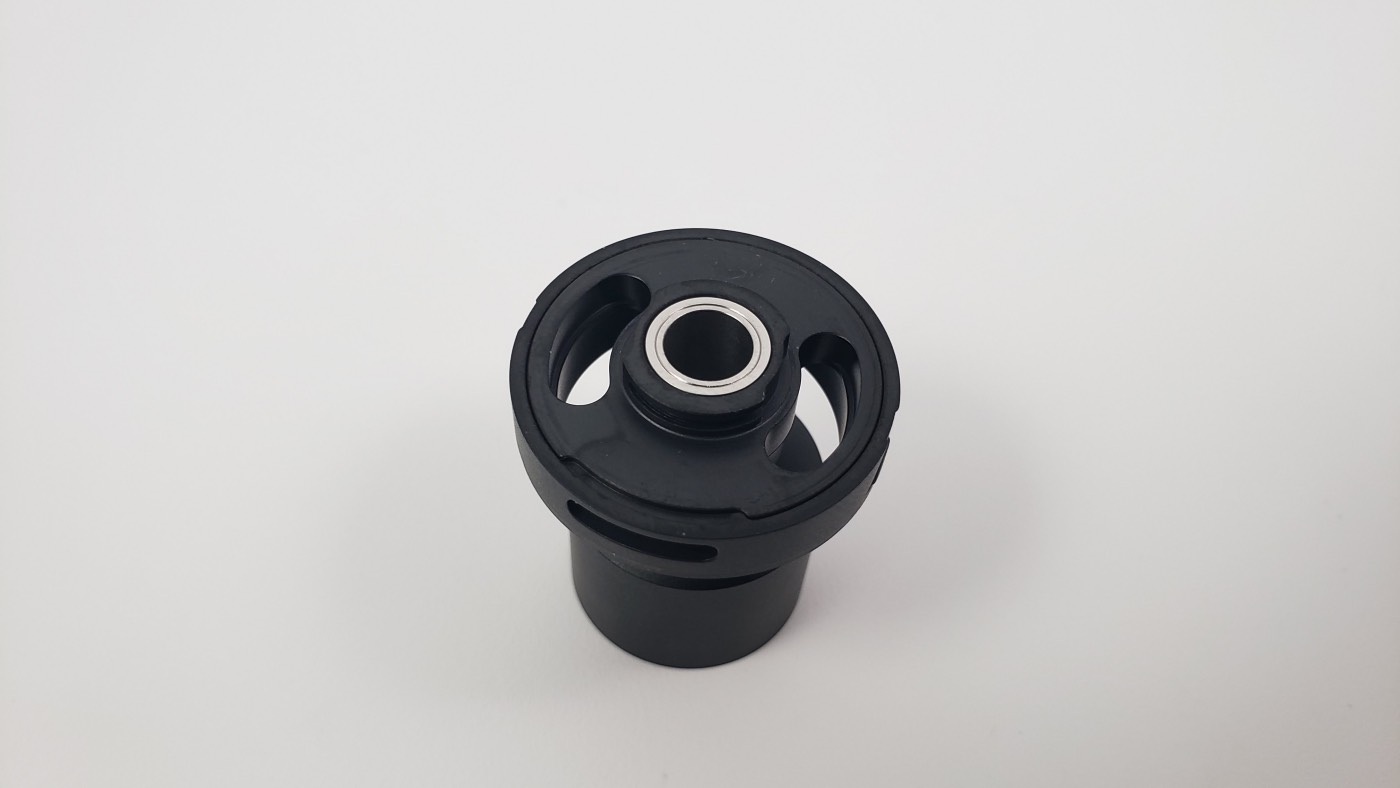
The chamber is connected to the airflow piece. This covers the deck and is compact enough to keep the vapor nice and compressed so that the flavor stays strong all the way to the mouthpiece.
Adjustable Top Airflow
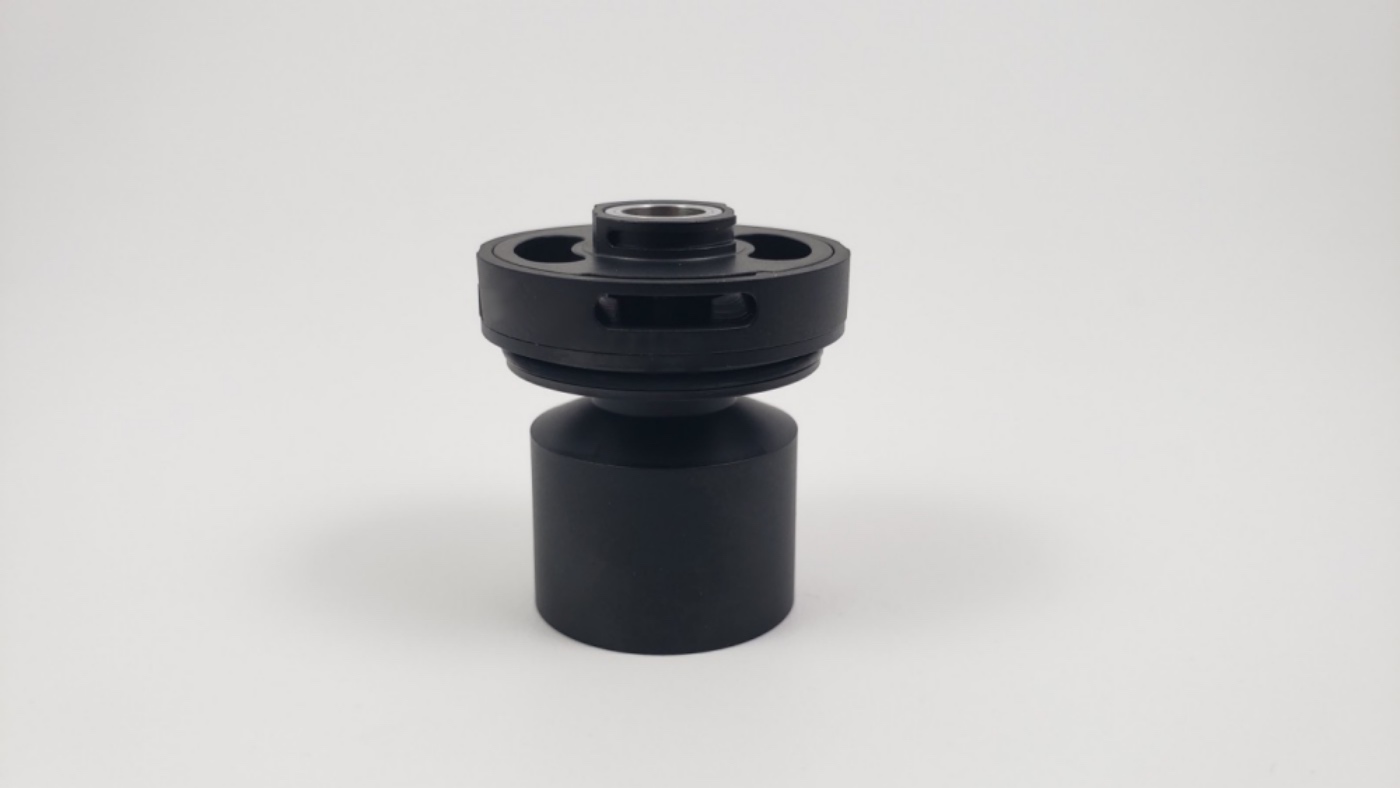
The airflow is at the top of the tank, so the way it works is by taking in the airflow from there, leading it through the chamber section, and into airflow ports built into the deck. From there, the airflow goes under the deck and comes through the bottom of the coils, up the chimney and into the mouthpiece.
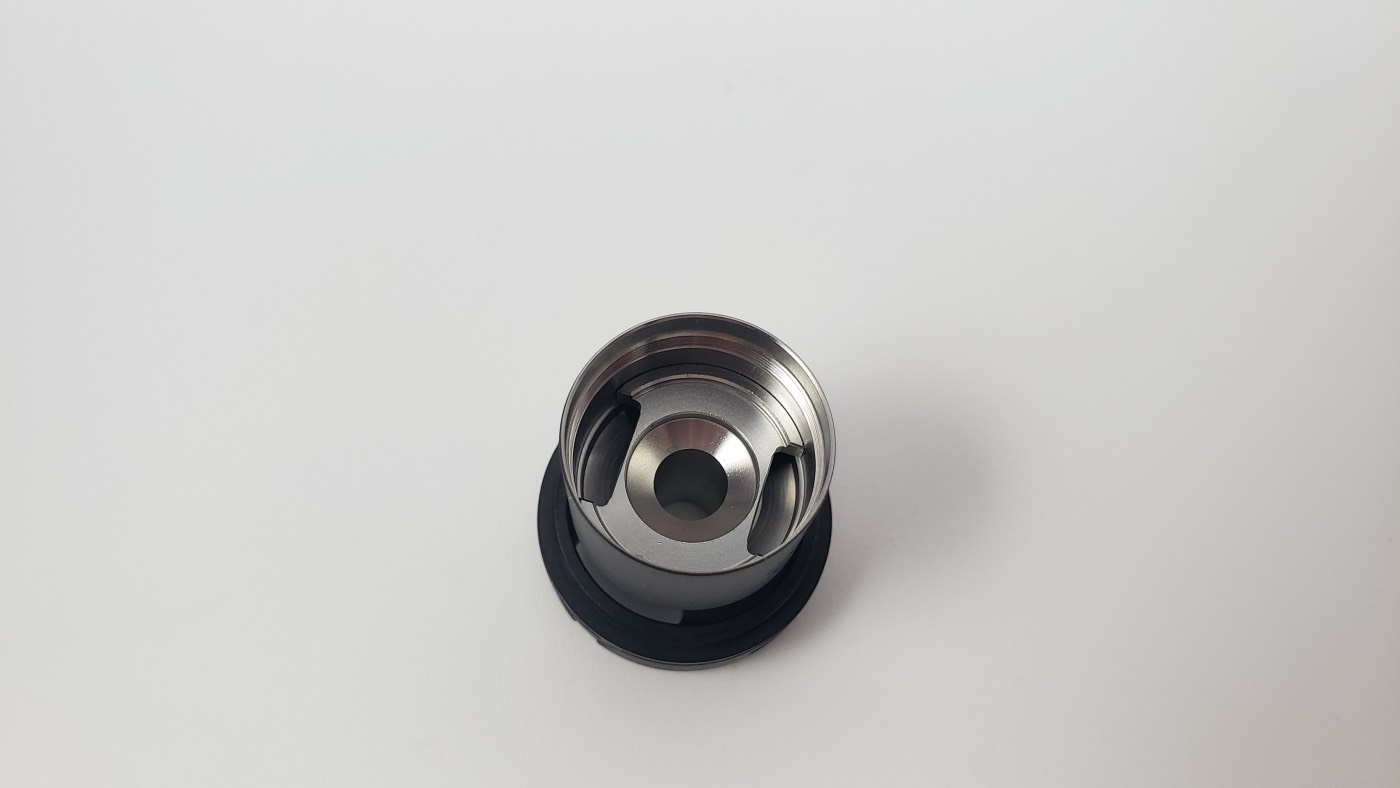
One of the features of the Intake Dual that Augvape touts is that it has a leakproof design. Based on the design of the airflow intake tubes and how the airflow comes in from the top of the tank and then under the deck and back out of the top, that’s probably true. I haven’t been able to get it to leak and I wouldn’t imagine that it ever would, at least not easily.
The airflow on the Intake RTA isn’t designed for massive cloud-chucking competition-style hits. You can get big hits, but you can’t just breathe through it either. So I would say that it’s just a slightly restricted lung hit when it’s wide open. But I think it’s satisfying enough, personally. And adjusting the airflow works well, for example, if you want to vape at lower wattages or if you use a single-coil in here, closing down the airflow makes a noticeable difference and works well.
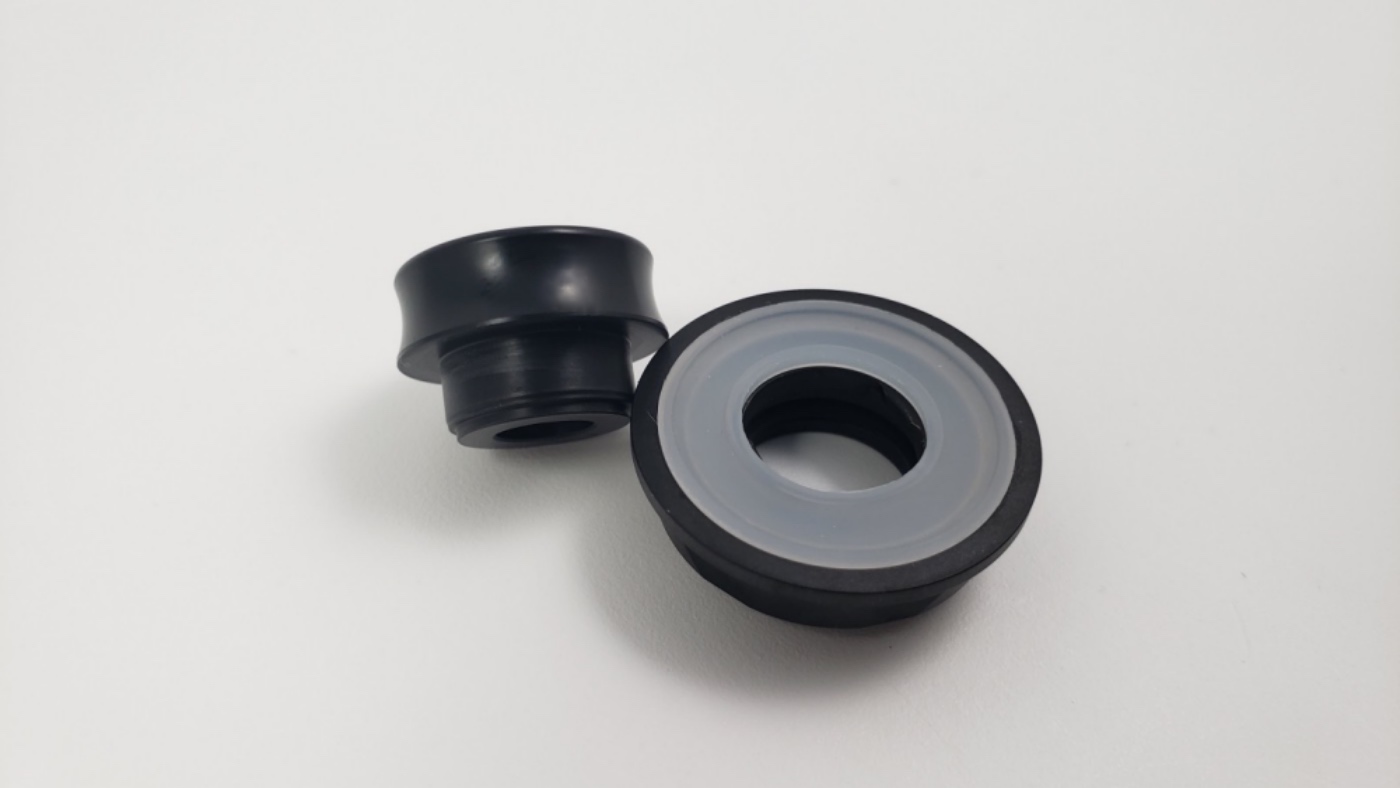
Glass Tanks
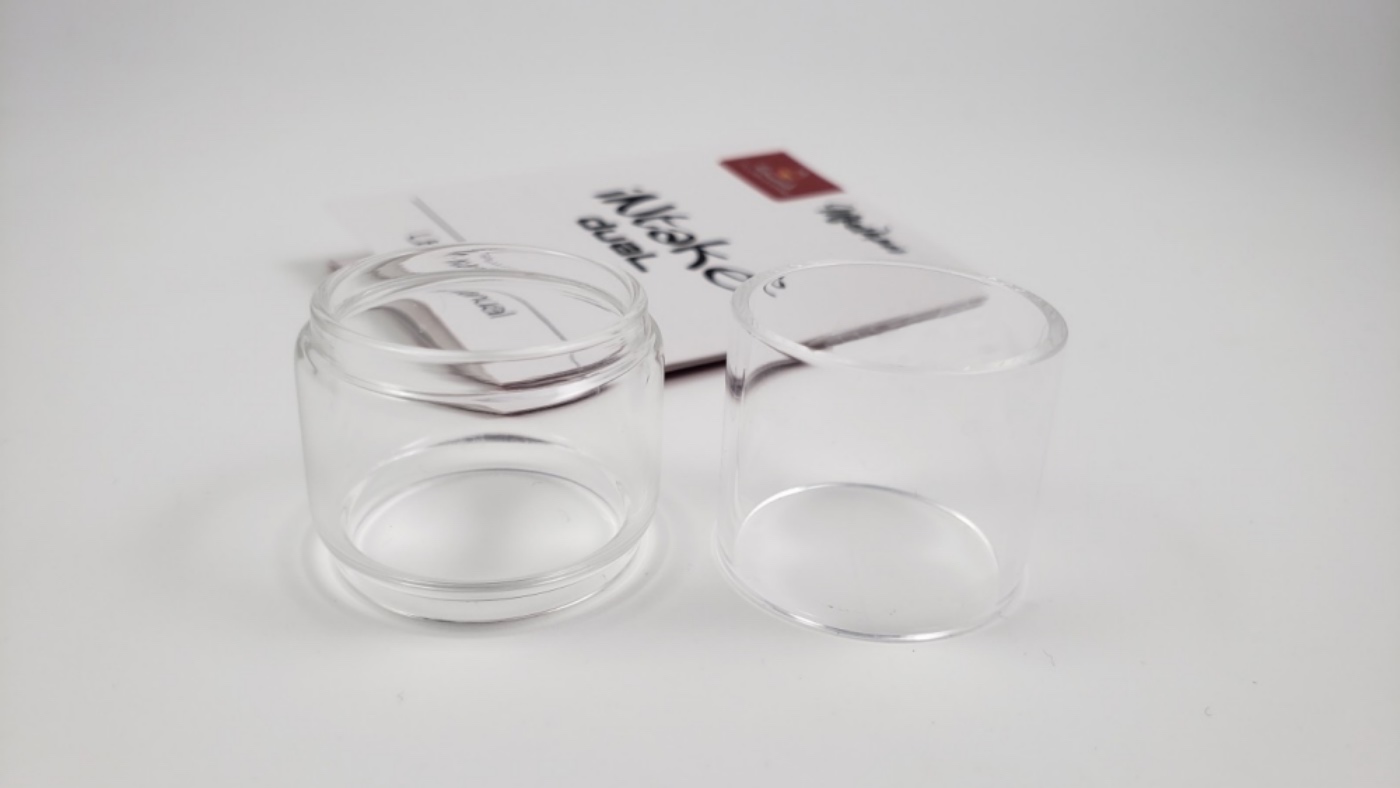
The Intake Dual comes with two glass tanks. The pre-installed glass is a bubble glass tank that holds 5.8ml of e-liquid and in the box is a spare straight glass tank that holds 4.2ml of e-liquid.
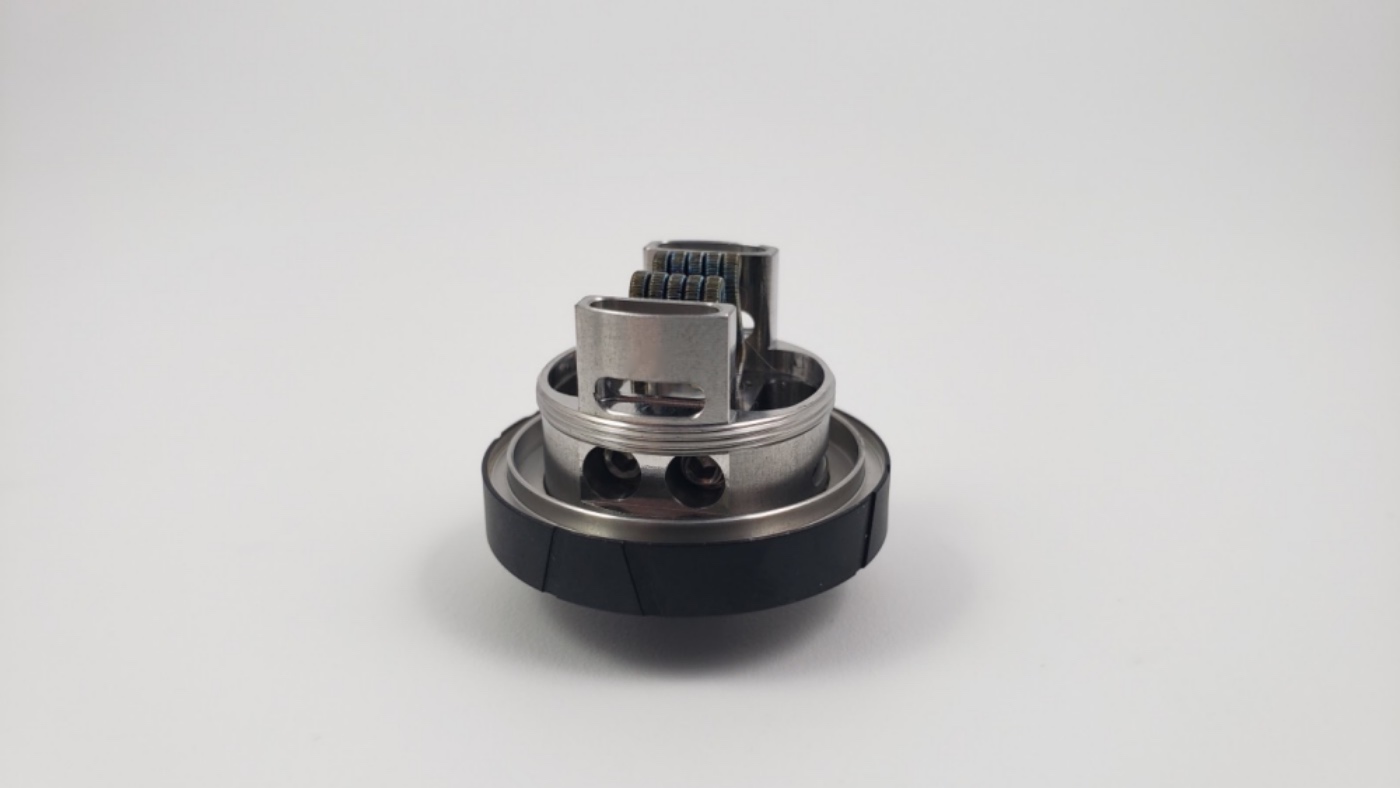
Building the Postless Style Deck
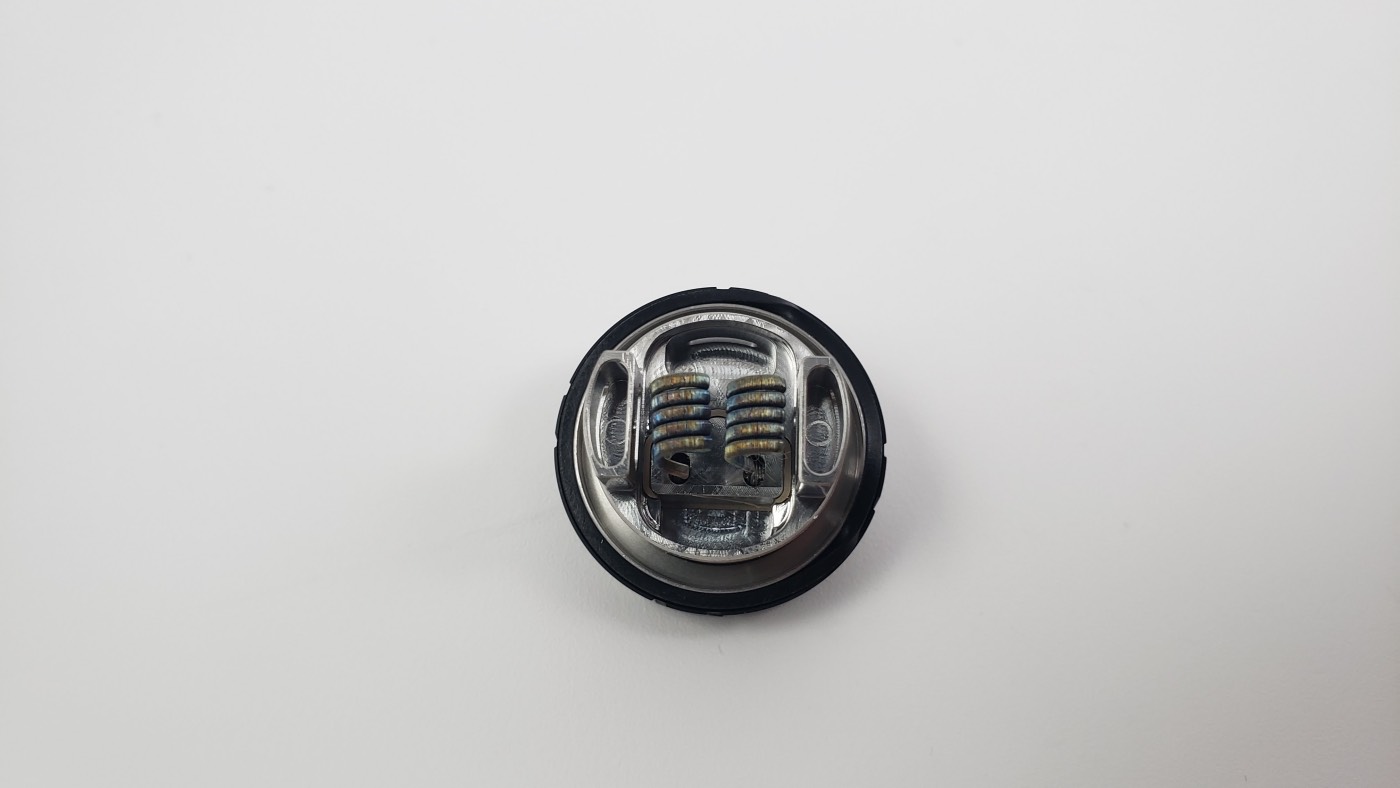
The deck in the Intake Dual got a major design overhaul from the original. It still works similarly, but it’s been modernized. Instead of using posts, this is a postless deck where you simply drop the coils into the deck and tighten them down.
Augvape included a coil building tool that makes it easy to cut the legs to the perfect length so that the coils fit just right into the deck, which is set at 6mm in length.
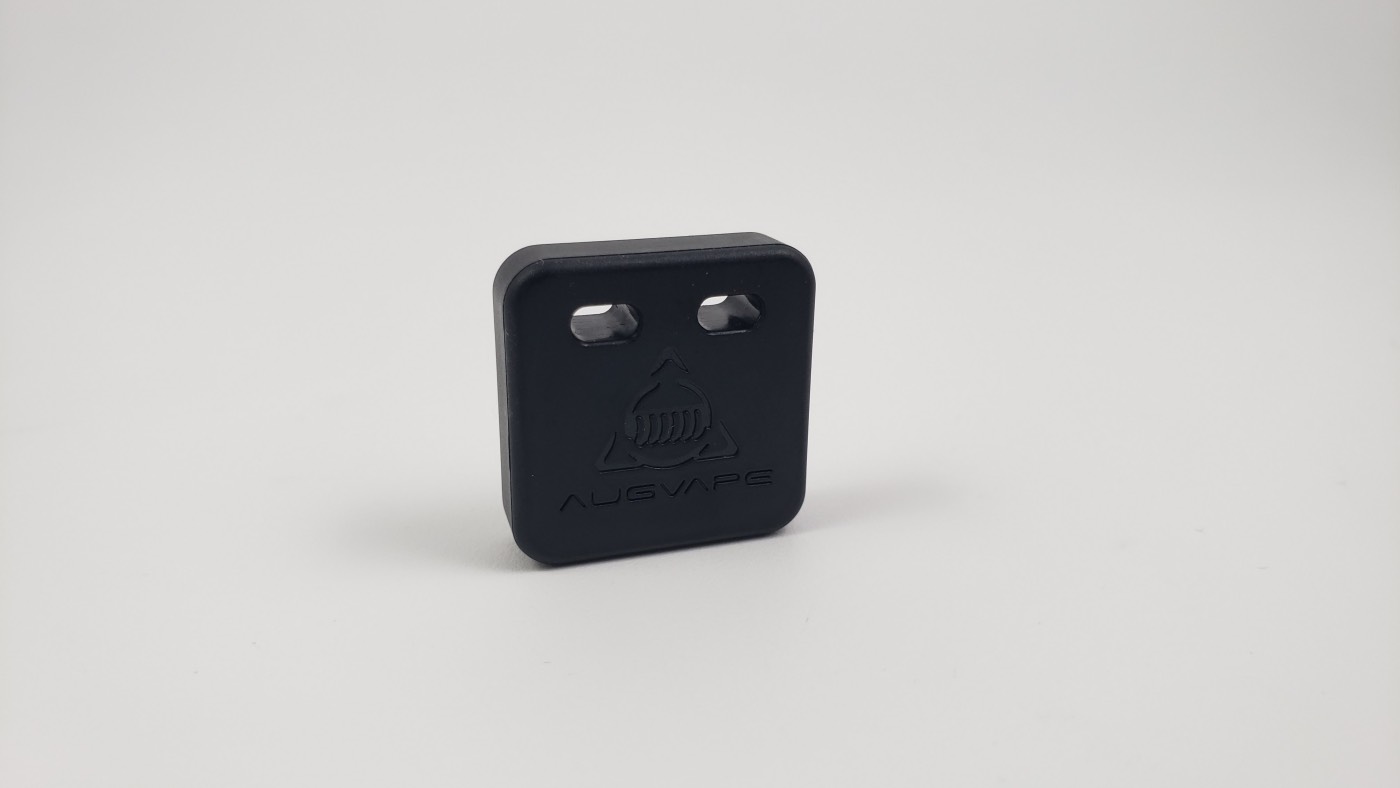
To use the tool, drop the coil into the holes and snip the legs off.
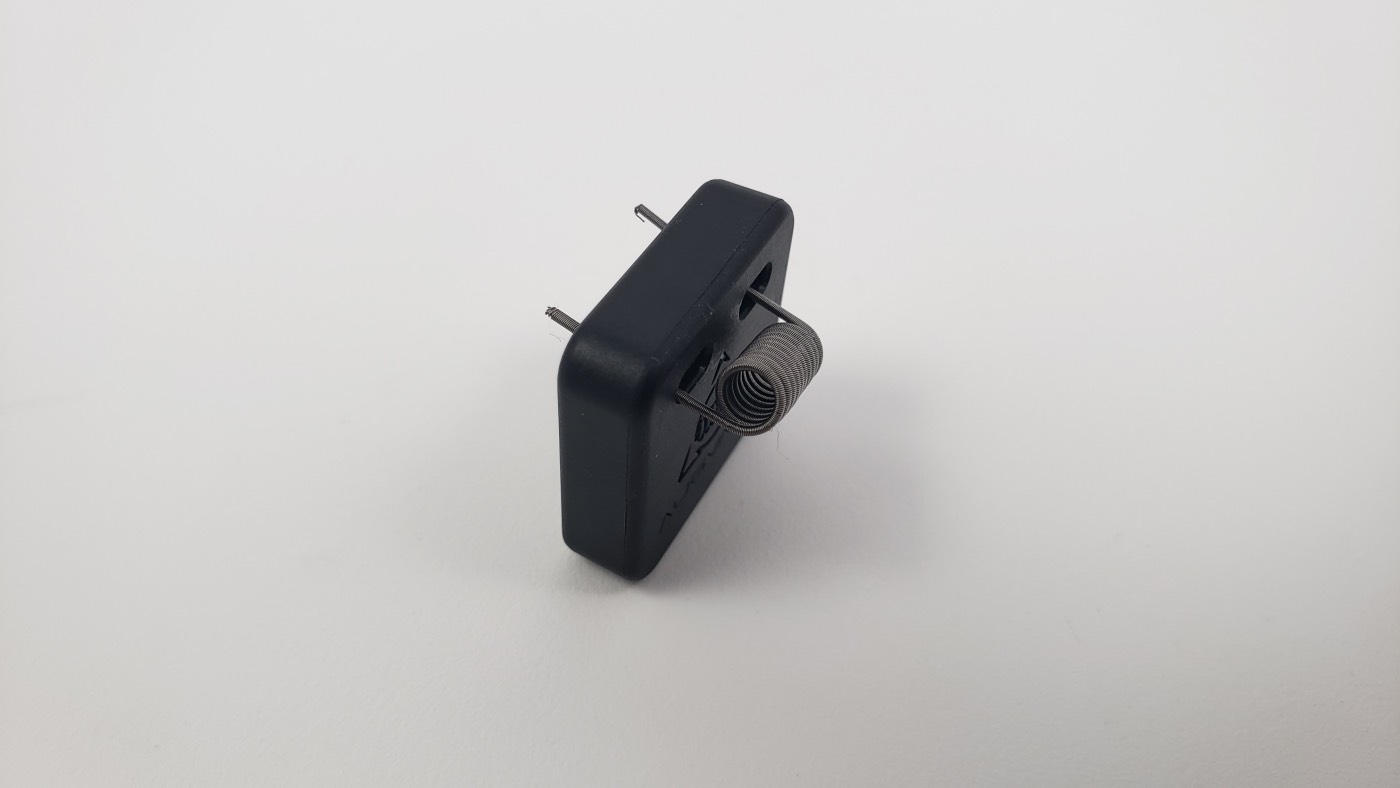
Then drop those coils into the deck and tighten them down with the build deck screws located on the outside of the deck.
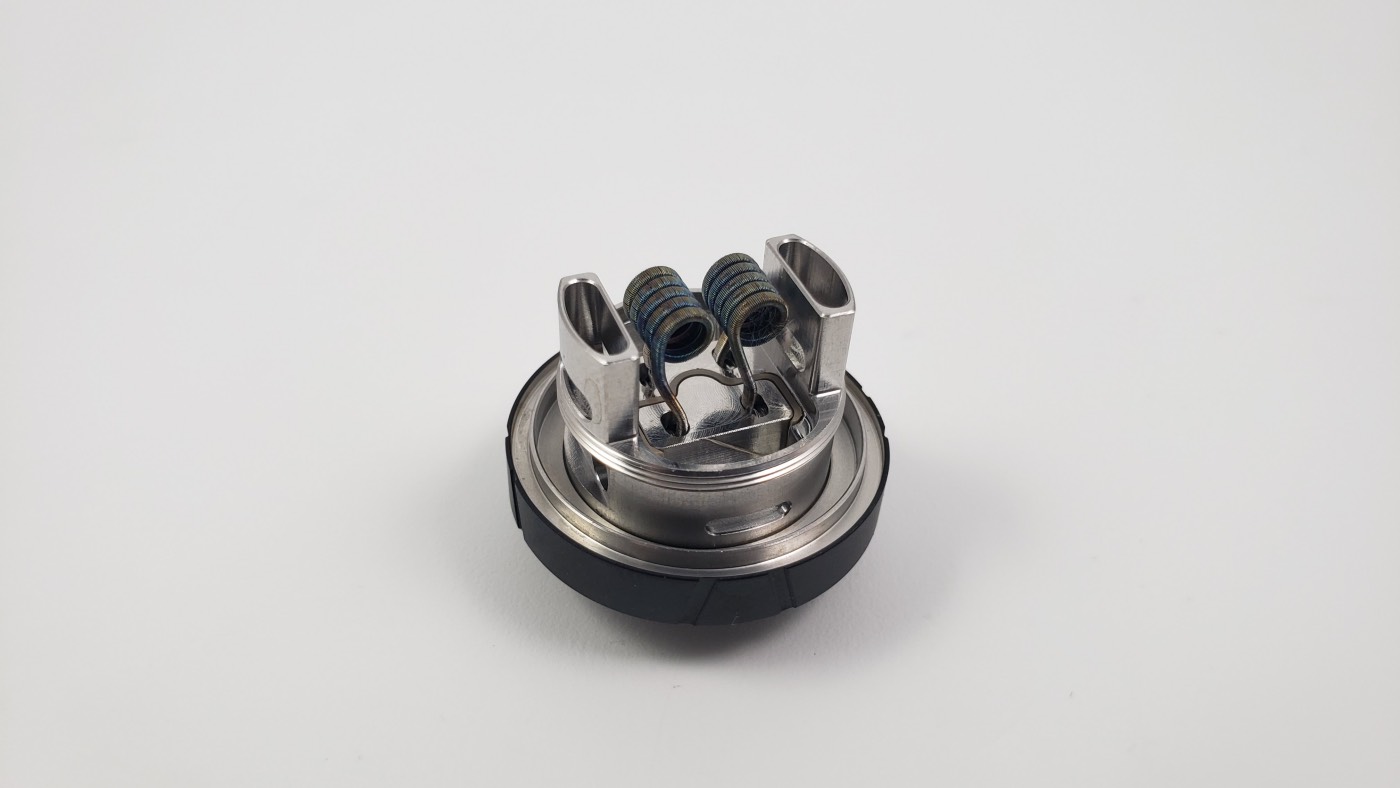
You can use either single or dual coil builds in the Intake Dual. If you use single, you’ll probably want to use a big coil, like a 4mm inner diameter coil, so that the airflow hits the coil surface enough to give you good flavor.
With dual coils, I think most people will probably prefer 2.5mm or 3mm diameter coils. Anything bigger than 3mm won’t work so well.
One thing to keep in mind with this deck is that the bigger coils you use, the more restriction you’ll get since there will be less space for the air to travel around the coils. That might not be a problem for you. You might like it. But if you feel like it’s too restricted for your preferences, just reduce the diameter of your coils and try again.
Wicking the Intake Dual RTA
You’ll want the cotton wicks to fit into the coils snug and then drop down below the deck. If you cut your cotton at about the where the ends reach the outer base, maybe even just a little shorter, that should give you enough cotton for this thing to wick well.
With RTAs, the main thing to consider when wicking is that you don’t stuff too much cotton into the wicking channels, otherwise it gets too compacted and can’t wick. That’s not much of a problem here since the wicking channels are so big, so that’s nice, but if you feel like your wick is a little tight, you can always thin it out a little or cut some cotton off the sides.
Putting it Together
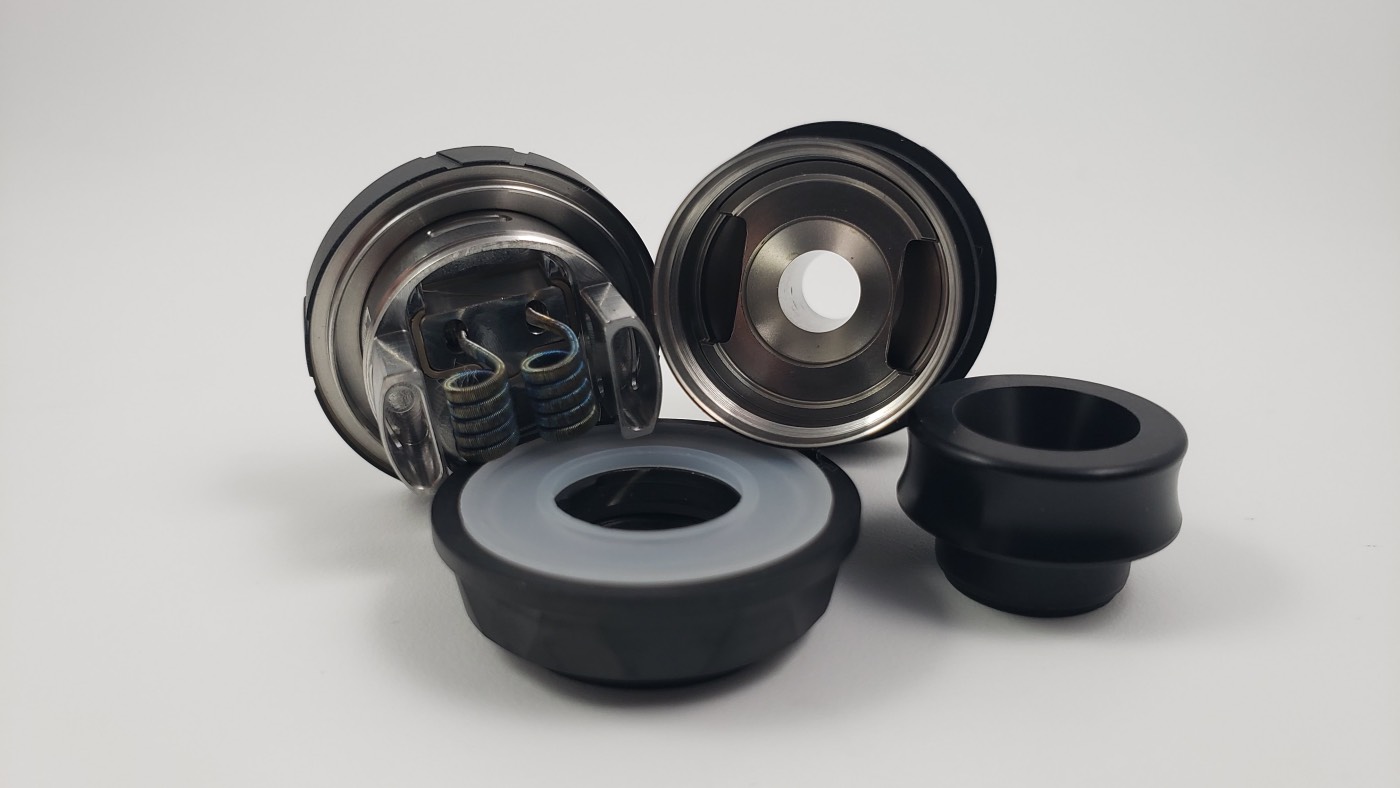
When you’re done building it, just screw the chamber back on to the deck. Remember to line up those intake channels with the holes in the chamber. You’ll feel them drop into place when you get them in the right spot. Then just screw it on and fill it up.
The Finer Details
Specs:
- 4.2ml to 5.8ml of e-liquid
- Size: 26mm diameter x 46.4mm tall
- Top Airflow
- Leakproof Design
- Colors: Stainless Steel, Gun Metal, Black, Rainbow
- Price: around $32
In the Box:
- Intake Dual RTA
- 1 x Bubble Glass (5.8ml)
- 1 x Straight Glass (4.2ml)
- Spare parts (4 Allen screws, cotton, 2 pre-made coils)
- Tools (Allen key, coil cutting tool)
Final Thoughts
I really like the Intake Dual. It looks nice, it’s easy to build, it performs well, and the flavor is great. There’s not much to complain about here. I think this one came out great and is absolutely worth picking up.
I got this for review from Augvape and you can pick up the Intake Dual RTA for around $32 from most places.
Alex is a former smoker who successfully quit smoking after 14 years by switching to vaping. Now a pro-vaping advocate, Alex has become a seasoned expert with over a decade of experience in the vaping industry. Since starting his vaping journey in 2010, Alex has earned a reputation as a trusted reviewer, extensively testing all types of vape gear, including mech mods, sub-ohm tanks, RDAs, disposables, e-juices, boro devices, squonkers, dry herb vaporizers, and e-rigs. He’s also explored the craft of coil building and DIY e-juice.
Since 2015, Alex has published more than 800 in-depth articles on vaping, produced over 500 videos covering product reviews, industry news, and tips, contributed to several well-known vape publications, and hosted a popular vaping podcast featuring over 100 episodes and nearly 40 hours of content.