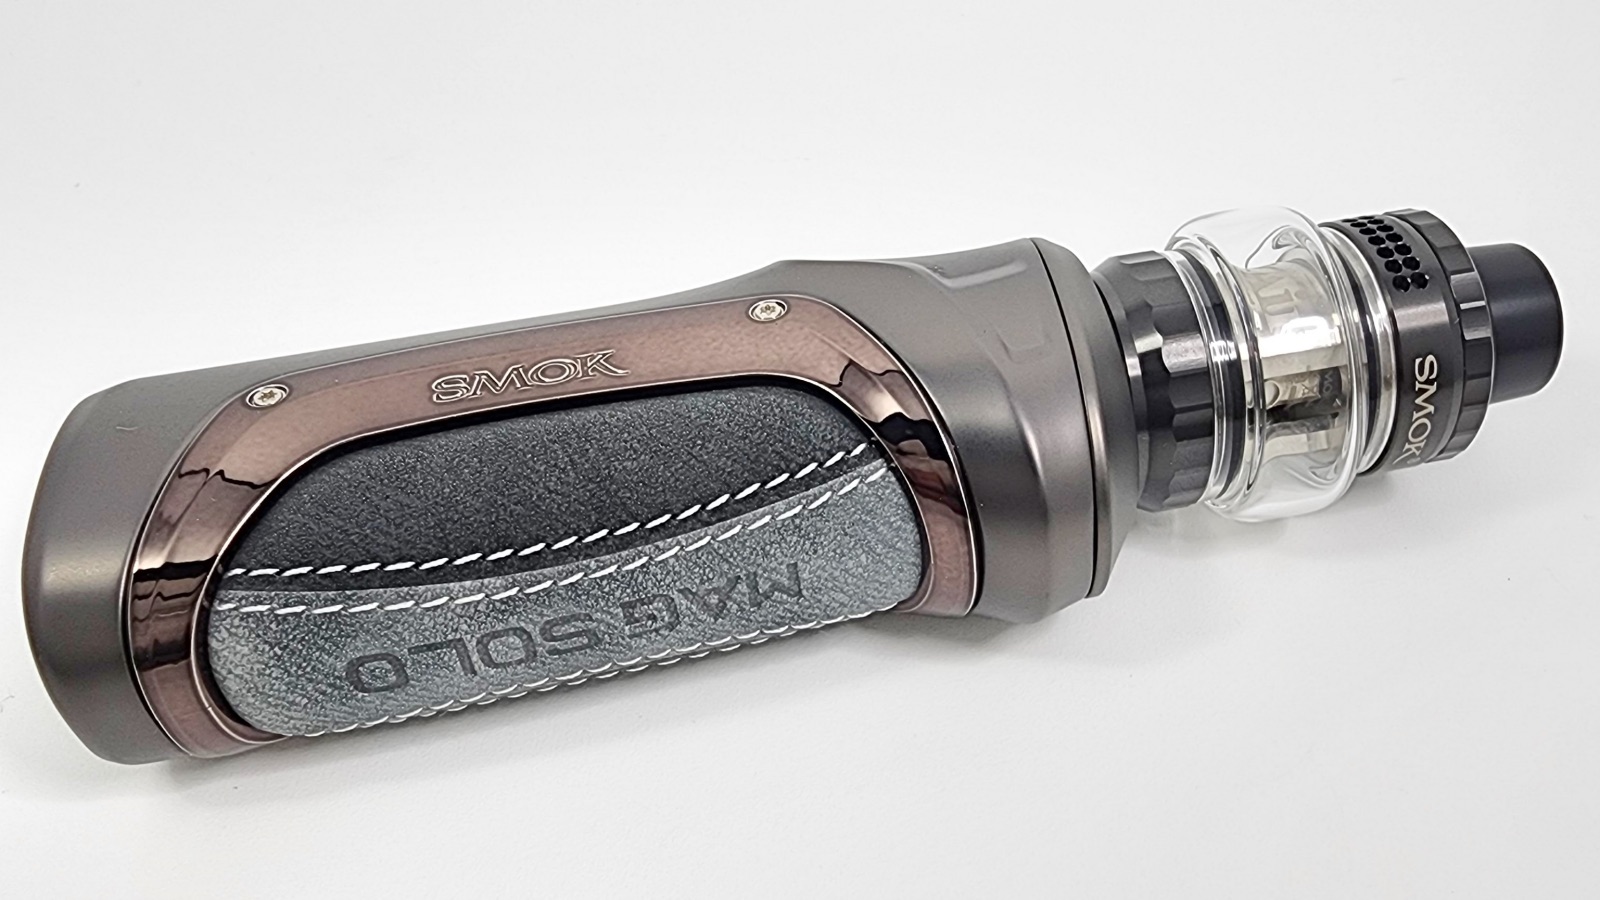
The SMOK Mag Solo kit was sent to me for review from VapeSourcing.com. Check it out here. SMOK has released a new box mod in their MAG style of devices, this time a single-battery, 100-watt device.
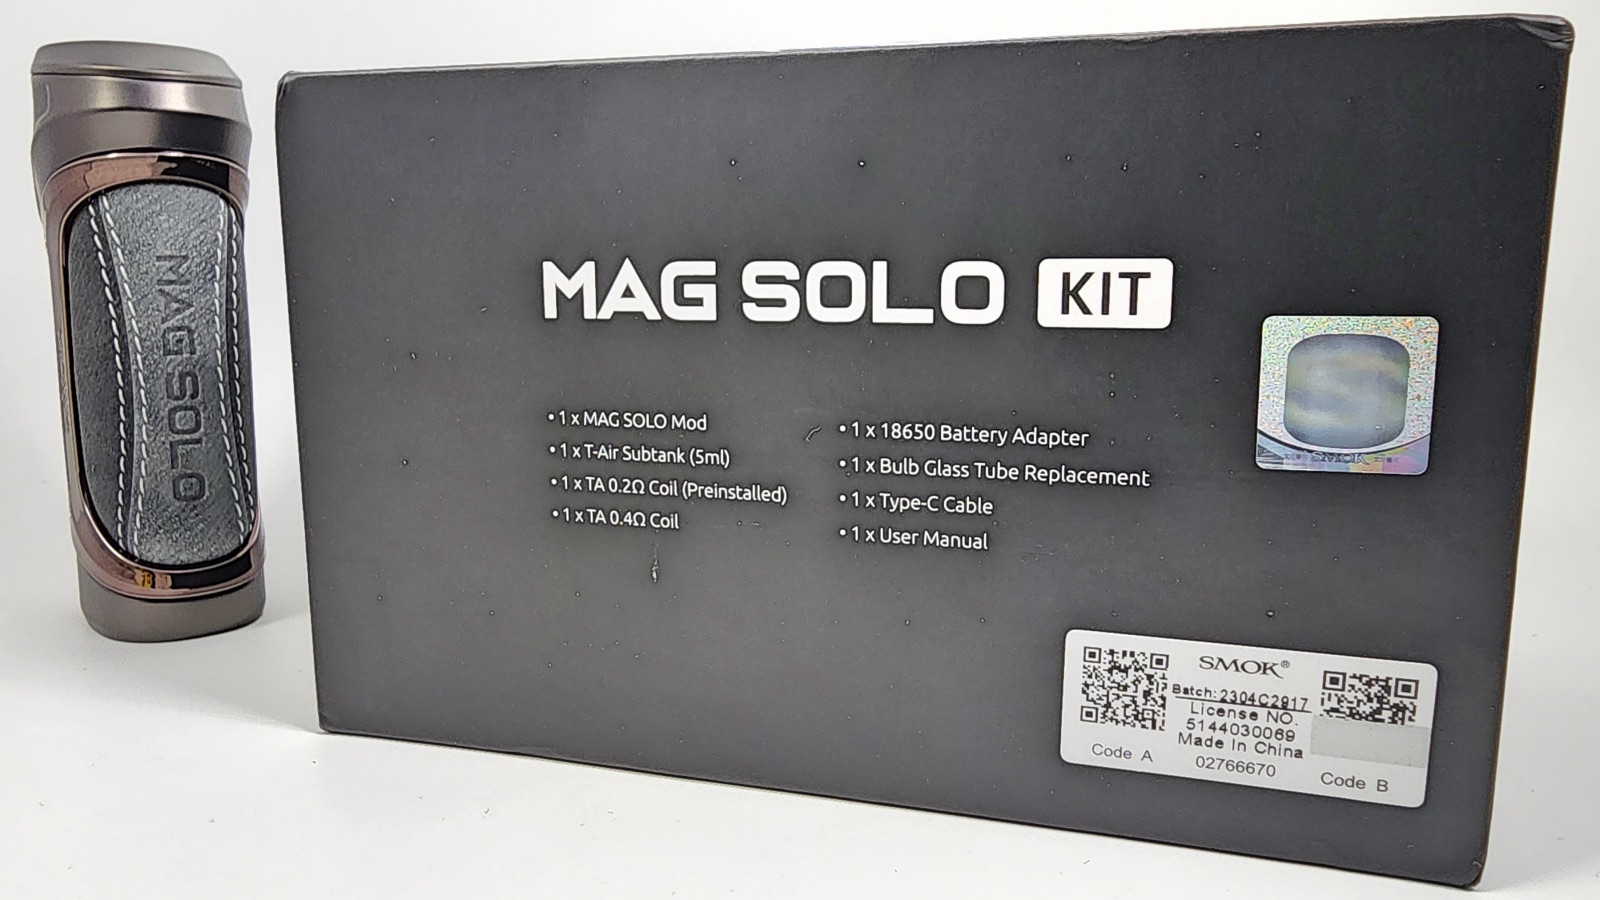
Smok MAG Solo Specs
- Dimensions: 95.2 x 43.6 x 32.2 mm
- Weight: 135 grams
- Battery: Single 21700 or 18650
- Output: 5-100 watts
- Resistance Range: 0.1~2.5 ohms
- Charging: USB-C at 1.5 amps
SMOK T-Air Subtank Specs
- Dimensions: 51.7mm tall, 32mm diameter
- Top airflow
- TA Series Meshed Coils
- Leak Proof Top Fill
- 5ml liquid capacity
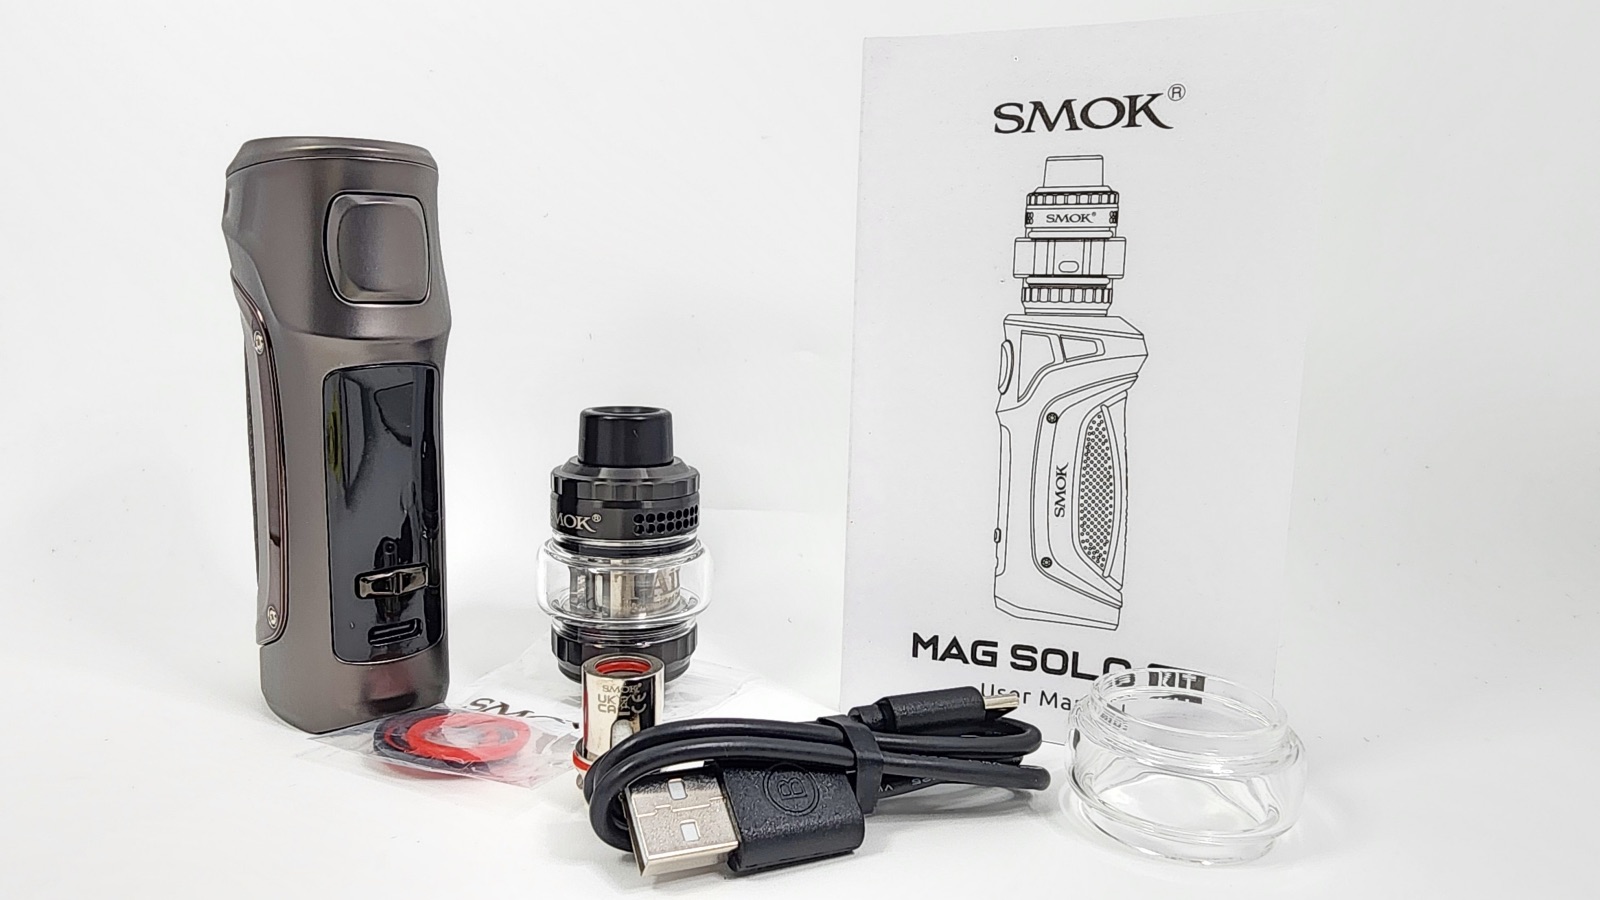
In the Box
- Smok MAG Solo Mod
- Smok T-Air Subtank
- 1 x TA 0.2ohm coil
- 1 x TA 0.4ohm coil
- Spare glass tube
- 18650 battery adaptor
- Type C USB cable
- User manual
SMOK MAG Solo
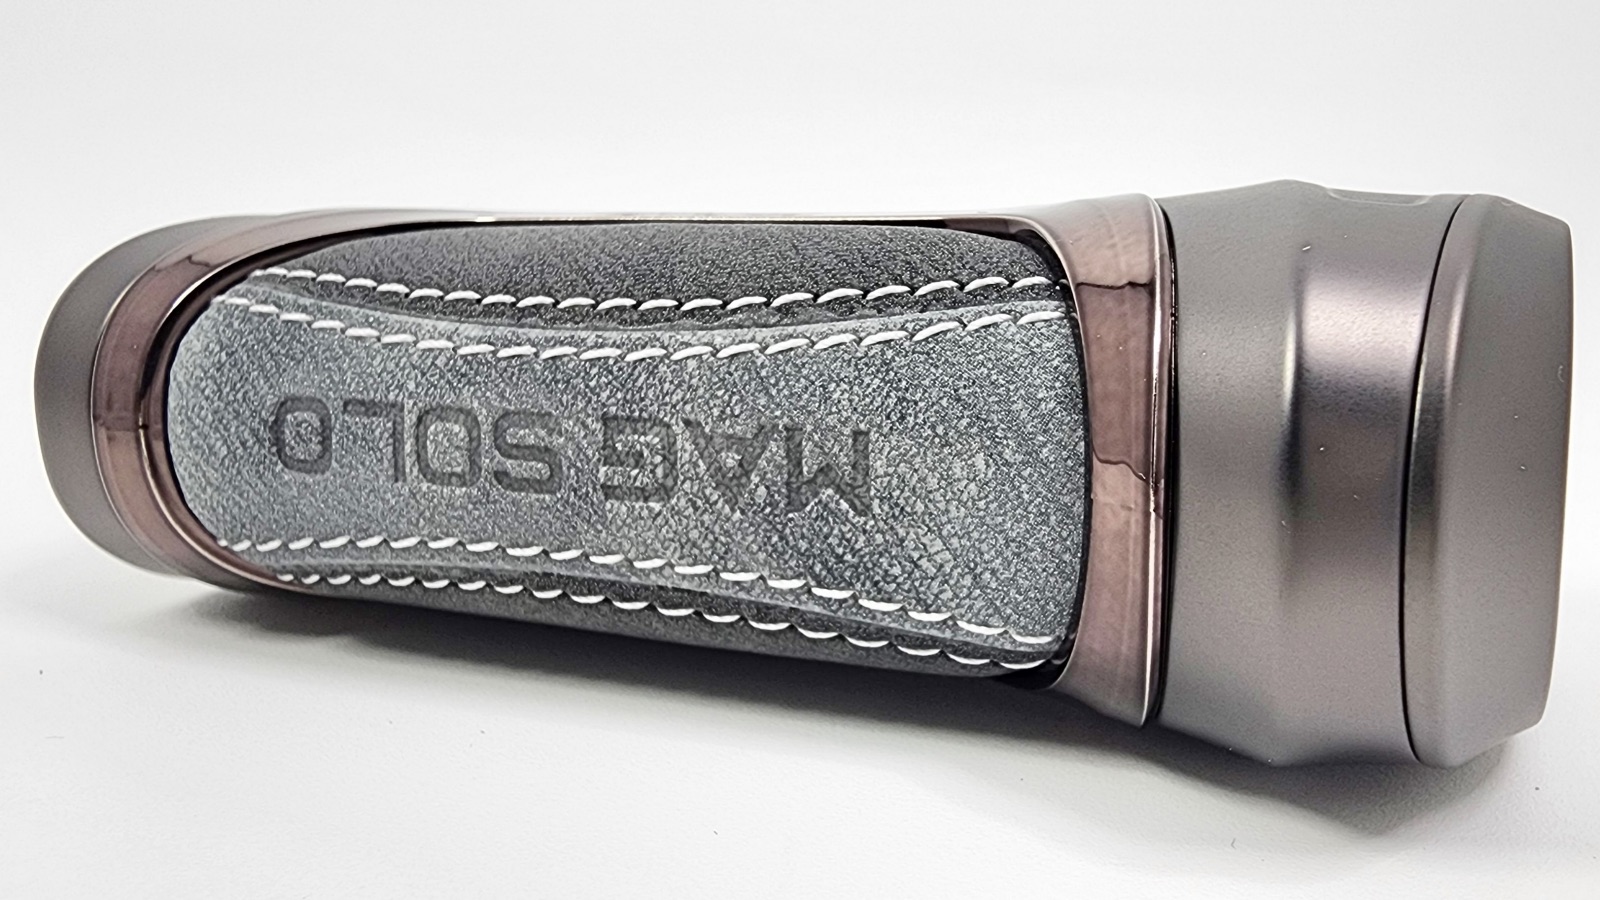
Design & Style of the SMOK MAG Solo
My first impression is that the MAG Solo looks a whole lot like a Geekvape Legend device, such as the Geekvape S100. It’s a great design, though, so I can see why they would want to use this style.
The MAG Solo showcases a gun grip design, reminiscent of its predecessors in the MAG series. The front of the device has a smooth firing button, which they call the trigger button, staying true to the MAG theme. Below that is a vivid, colorful screen, up and down adjustment buttons, and a USB-C charging port. At the bottom of the device is a battery door with a latch to open it.
It’s available in a staggering 17 colors, with options in both leather and TPU grips. The mod I reviewed had a leather grip, which is very comfortable and provides an excellent grip. The zinc alloy chassis gives it a sturdy feel, and while it’s not the lightest mod out there, its ergonomics are spot on.
The device is 32.2 mm wide (1.2 inches), 43.6mm thick (1.7 inches), and 95.2mm tall (3.7 inches)
Features of the Smok MAG Solo
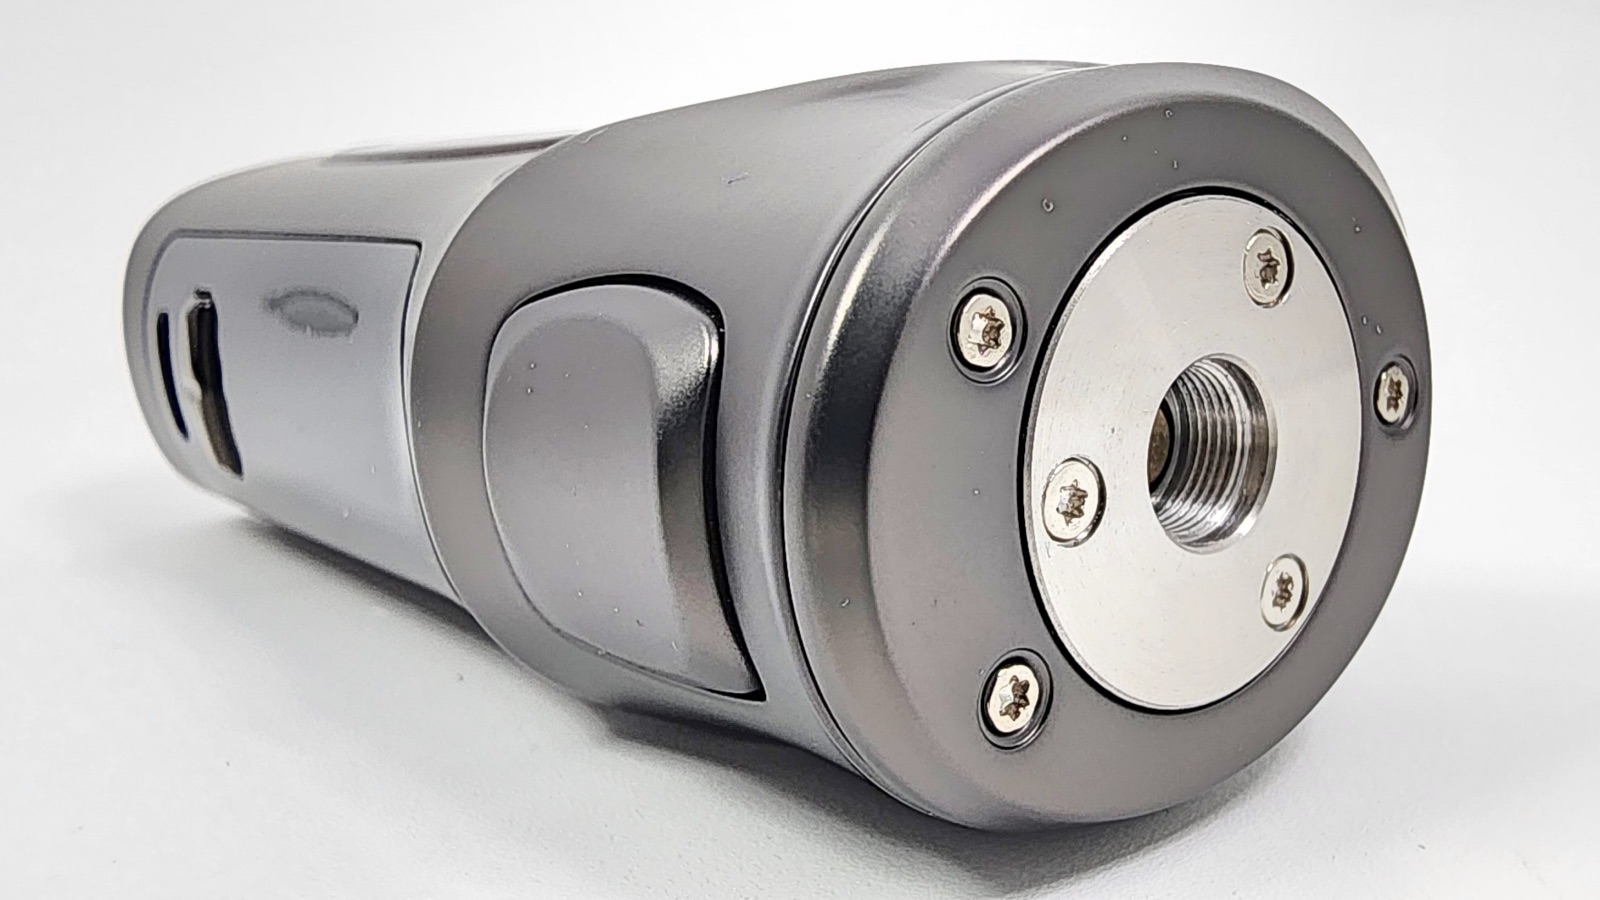
The device turns off and on with five clicks of the trigger button.
The 0.96-inch screen is bright and colorful and displays all the necessary information cleanly. The screen shows the battery charge, your wattage settings, the resistance of your coil, voltage, a puff counter, and a puff timer.
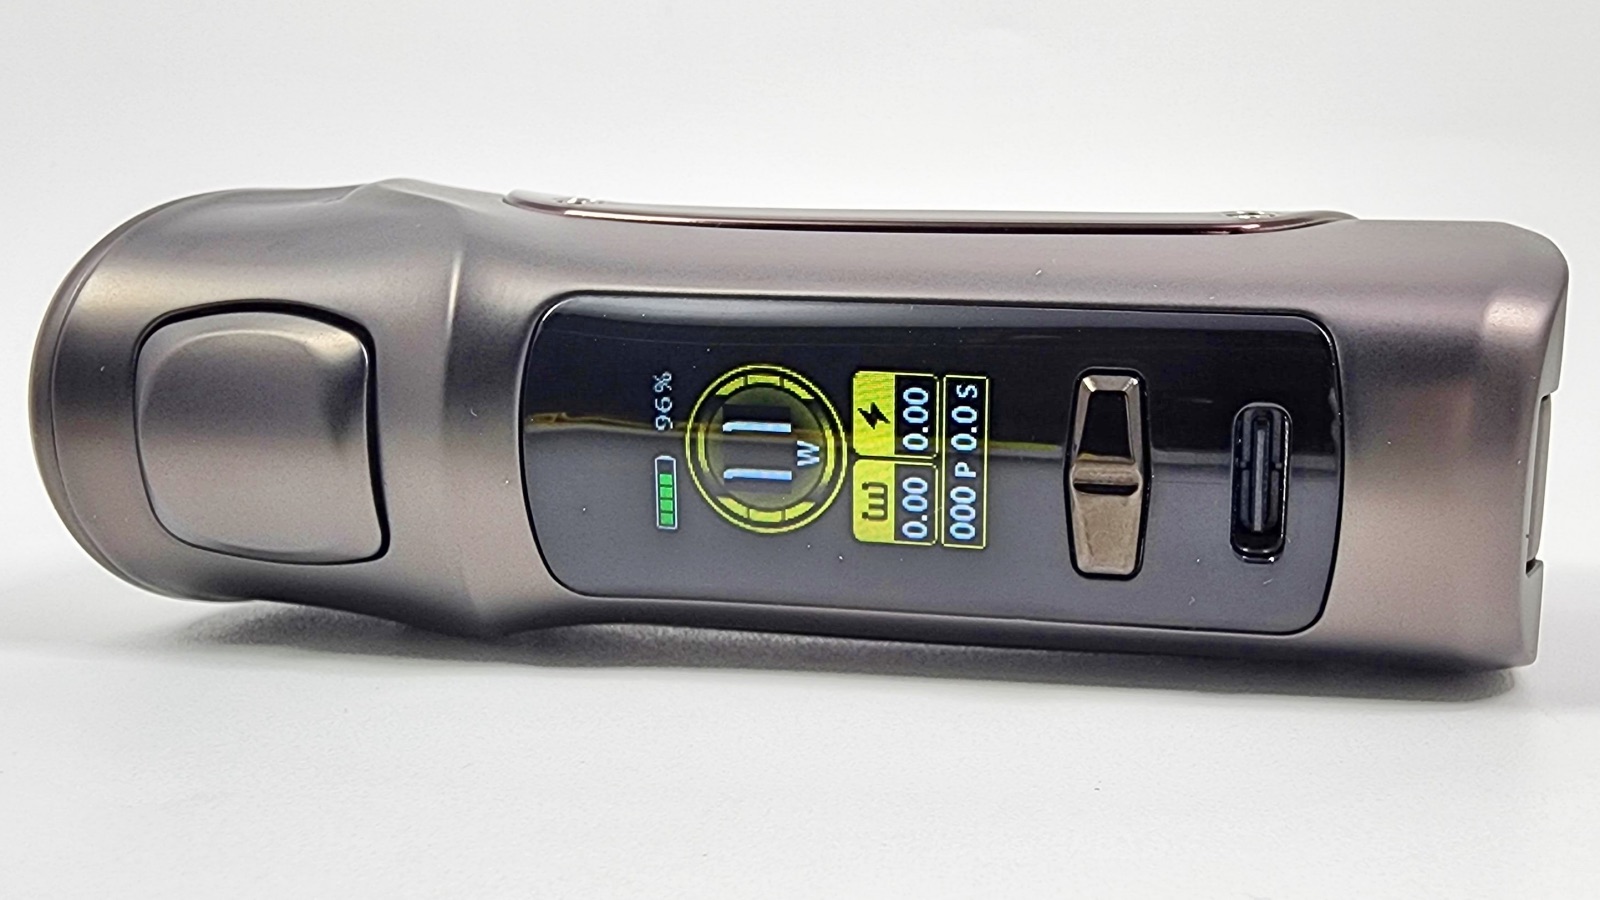
You can adjust the wattage from 5 to 100 watts with the up and down adjustment buttons. The wattage moves fast, which is nice. And it will round-robin when you reach the end.
There are six different color themes to pick from, catering to your personal preferences. Even the black and white theme color looks nice. You change the color by holding the trigger button and the right adjustment button at the same time.
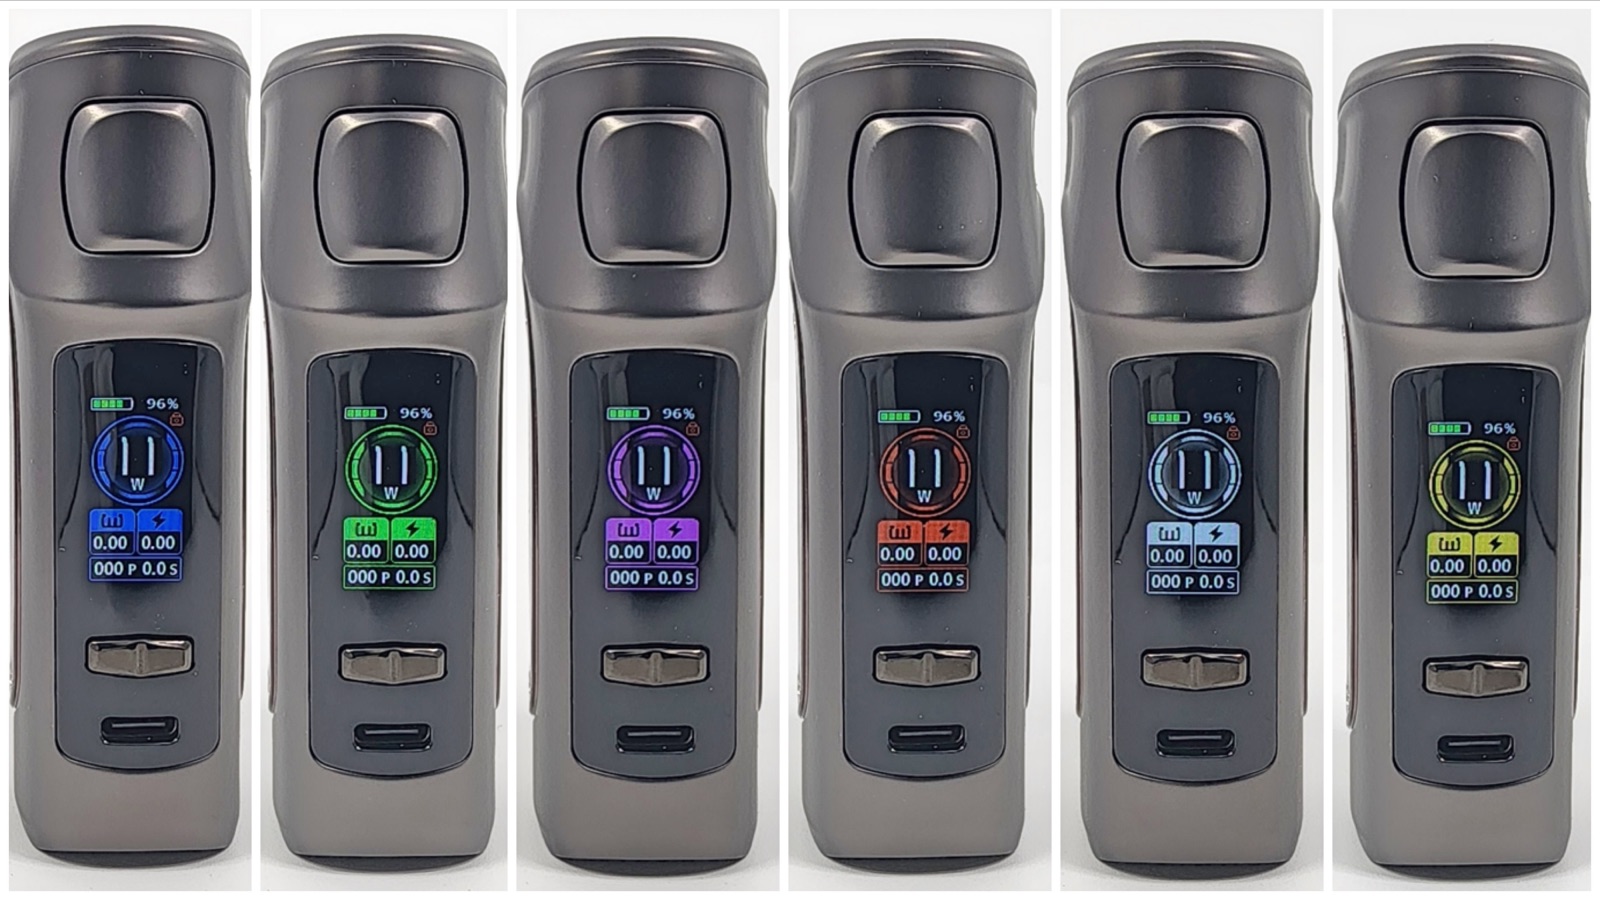
You can also clear the puff counter by pressing the trigger button and down button at the same time. And if you reach 999 puffs, the system will automatically clear the counter.
And that’s all the features this device has. They kept it really simple and easy.
Battery and Charging
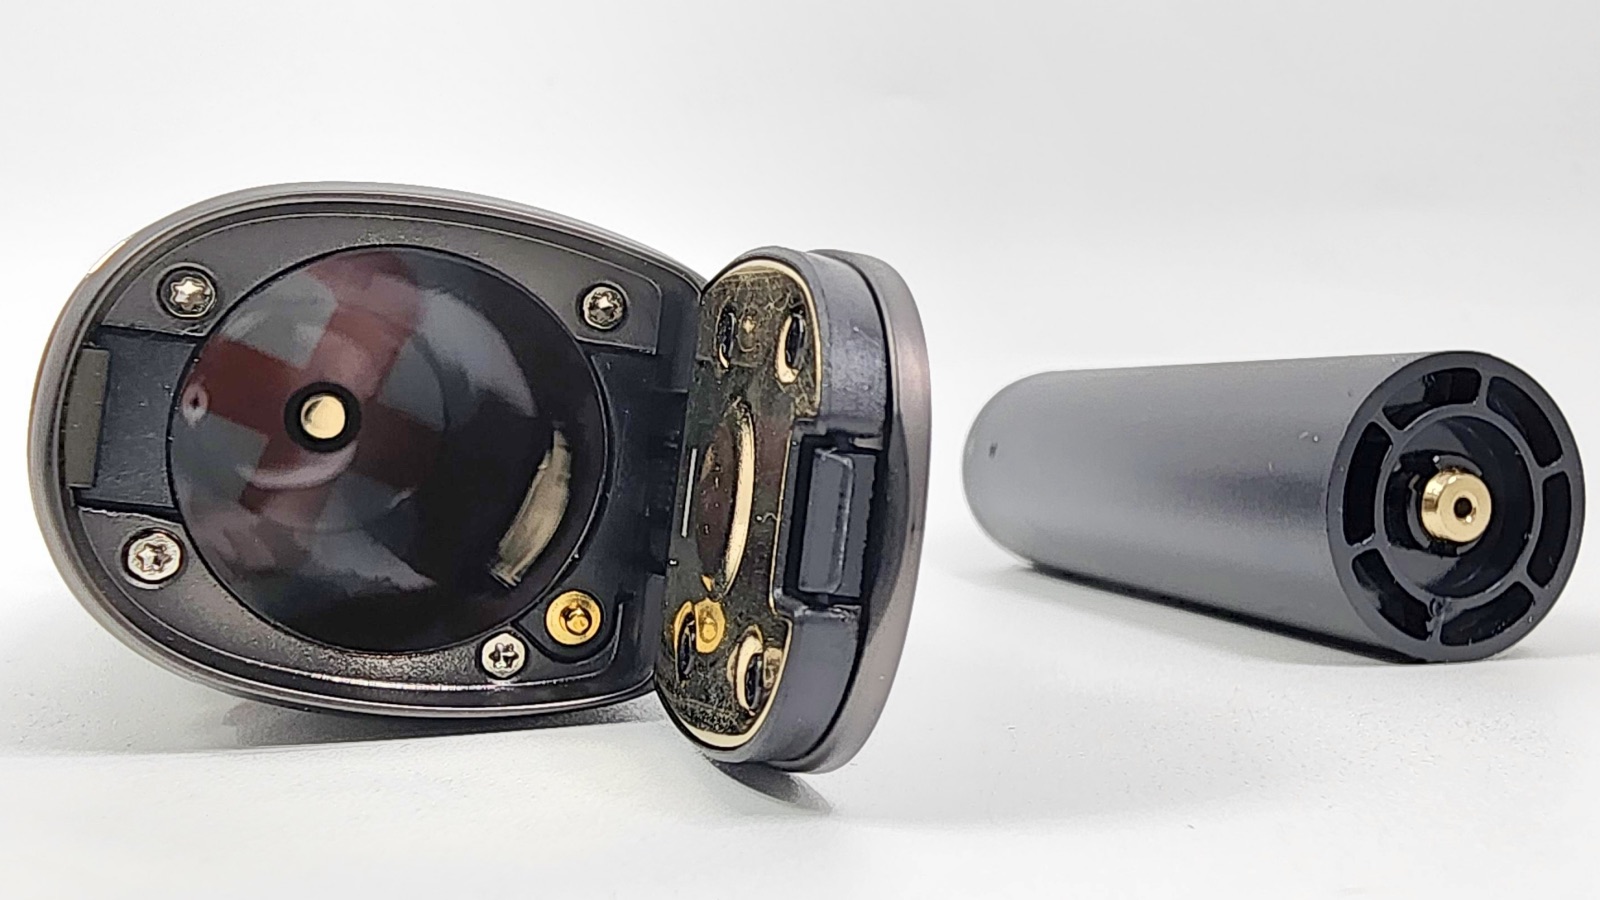
The mod supports a single 21700 battery, for those of you who want longer battery life, but SMOK also includes a 18650 adaptor sleeve. The sleeve works in the device no matter what direction you insert it, but it comes in the device with the open end facing down, and that’s how they show it in official images on the site, so that’s how I’m using it too. The battery slides into the insert smoothly, with no rattle, and then that also slides into the device perfectly.
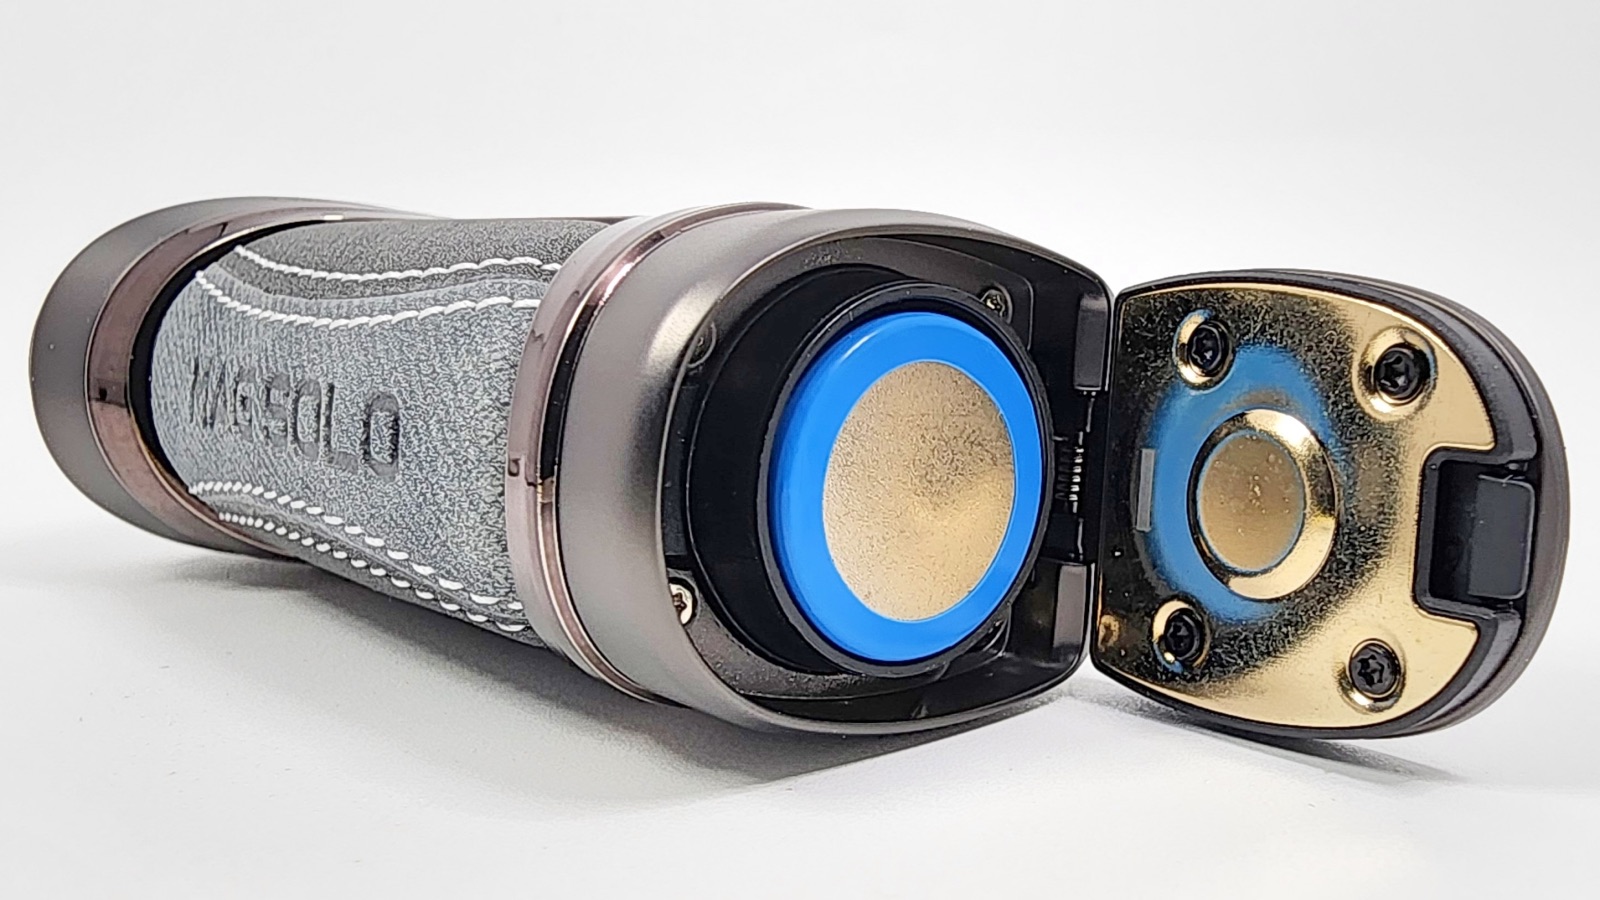
The USB-C charging is efficient, peaking at 1.5 amps. However, as always, I’d recommend using an external charger for longevity.
The chip has several safety features as well:
- 8-second cutoff
- Short circuit protection
- Over-heating protection
- Low-battery warning
The Smok T-Air SubTank
Design & Style
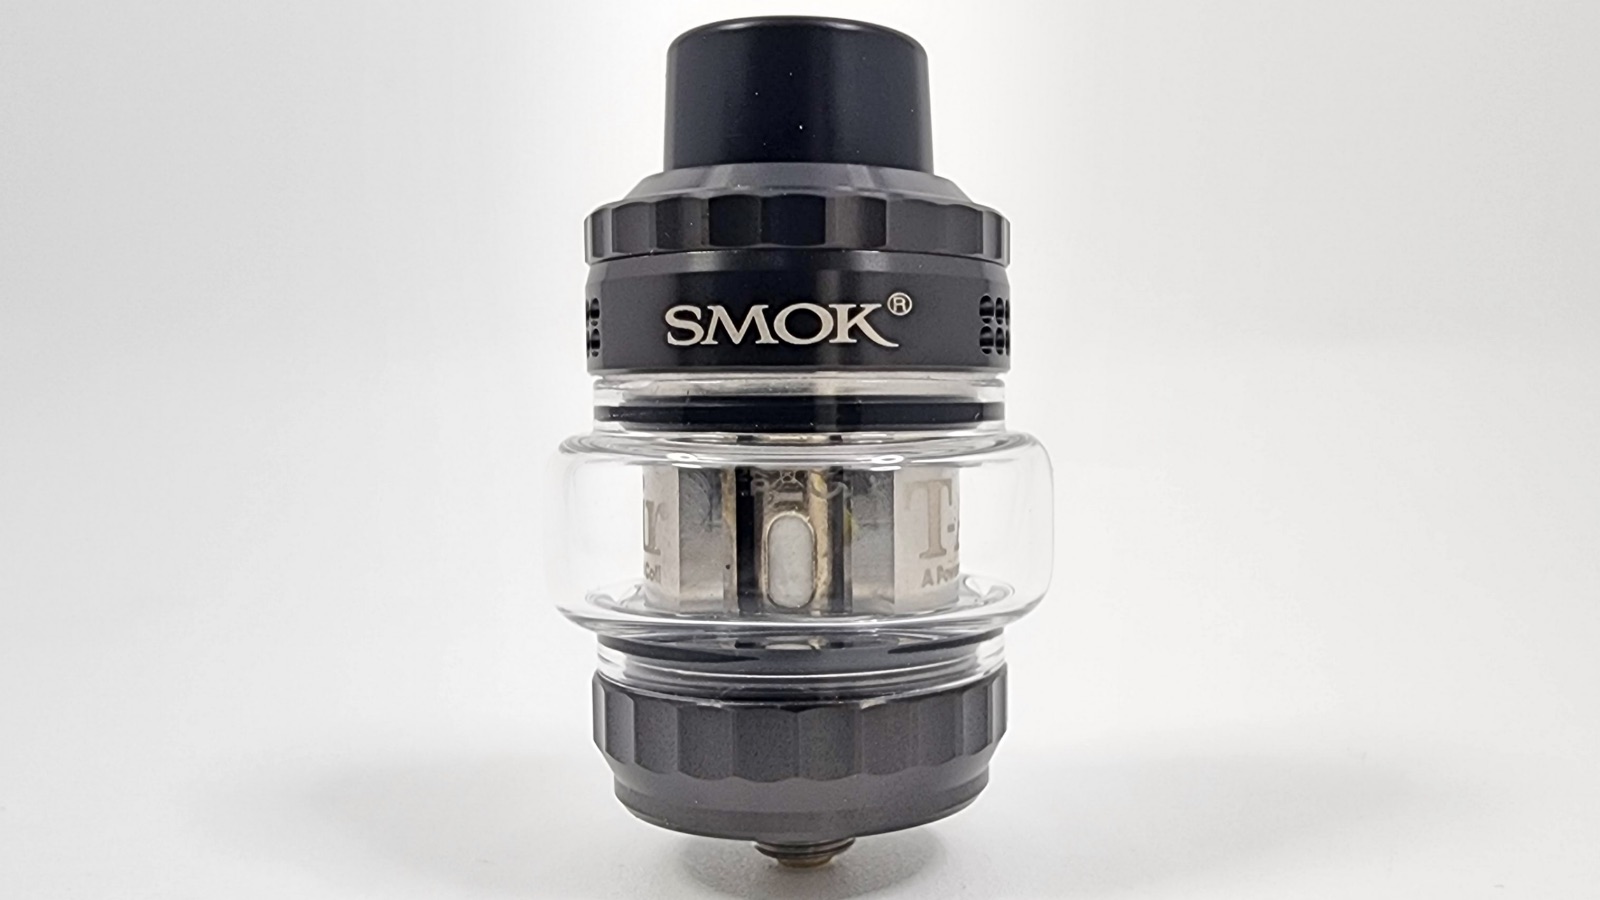
The T-Air SubTank, included in the full kit, is a nice addition to the kit. It features an easy-to-use top fill system and a standard 810 drip tip. The tank uses a press-fit coil system with a top-down airflow design.
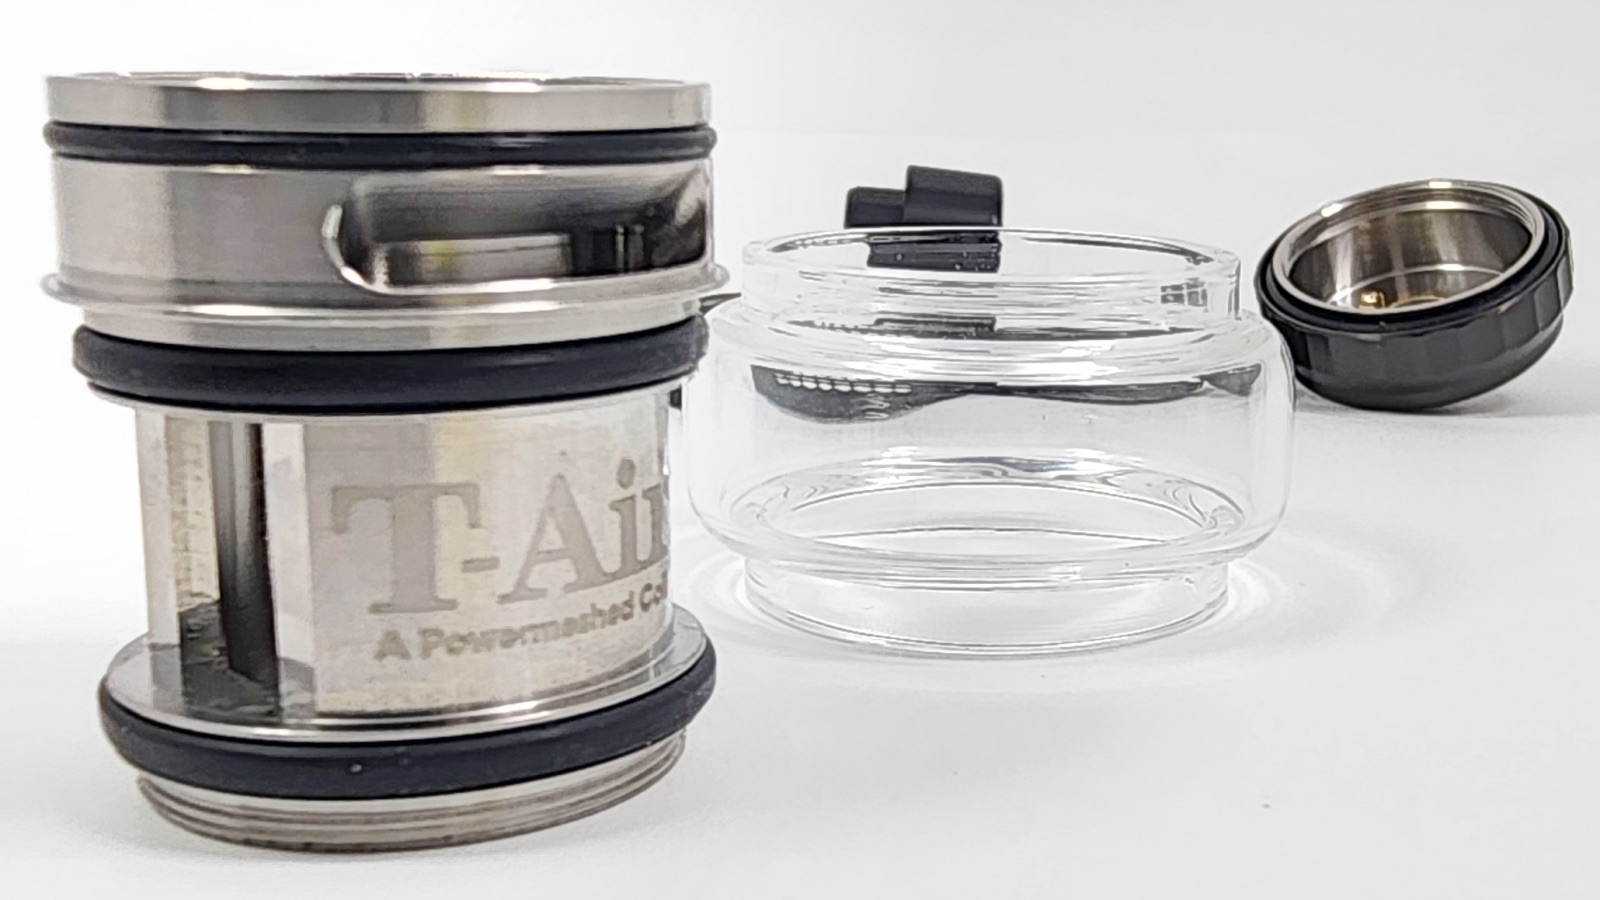
The bubble glass gives you a lot of room for liquid, and you can fit 5ml of liquid. The capacity is great.
Leaking Issues
SMOK claims that the T-Air SubTank was meticulously designed to be leakproof. That seems to be true, but some tanks can have a vacuum pressure issue that causes them to leak. And I ran into it here.
So I had an issue where if held the tank sideways, e-liquid would just pour out of the airflow holes, and the chimney would get flooded. Just a few seconds on its side would completely drain it. I took off the base to confirm that the coil was seated properly and then really tightened down the base to make sure it was all tight and it still leaked.
If you get leaking problems, it could be a poorly seated coil, a bad coil, or a loose or bad seal somewhere. But in my case, I’m almost certain it was a vacuum pressure problem.
If you fill the tank with the airflow holes open, the tank doesn’t create a vacuum seal. So what you need to do is close the airflow, take off the top cap, fill it up, turn the tank upside down for a few seconds, and then open the airflow again (while the tank is still upside down.)
And that’s exactly what I did. I closed the airflow, took the coil out, drained the flooded chimney, put the coil back in, filled it back up, turned the tank upside down to check for leaks, and then opened the airflow holes again. And it has been working fine ever since. It’s a ridiculous number of weird steps, but try it if you run into leaking problems.
Drip tip
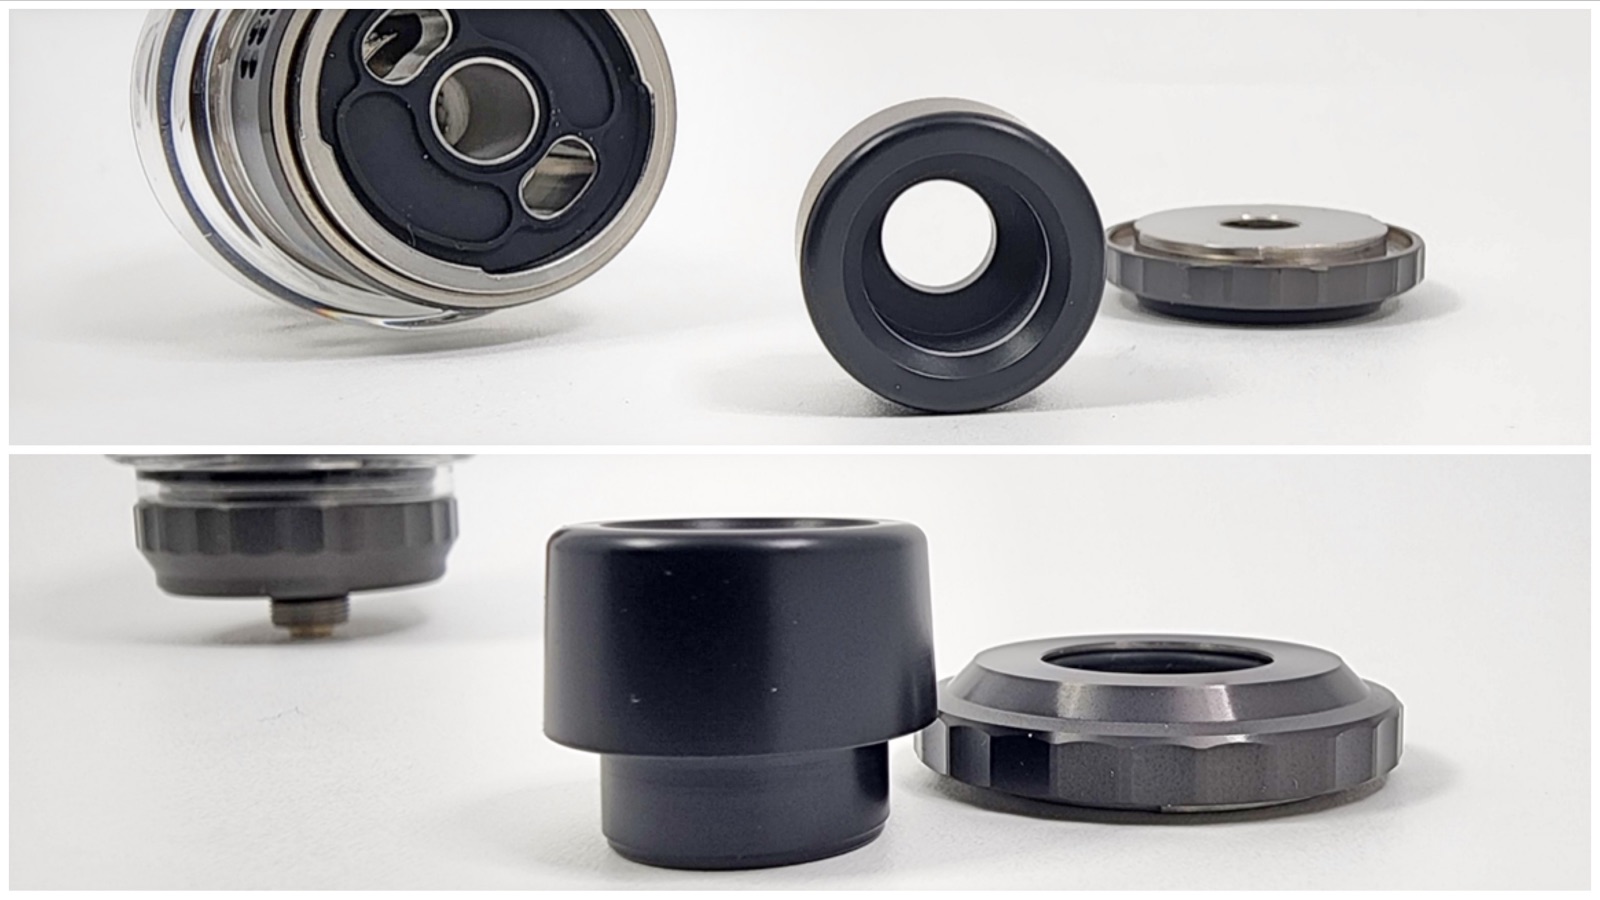
The standard 810 drip tip is functional and fits well with the overall design of the tank. The tip fits into the top cap very tightly and is really difficult to remove, but I’m sure it’ll get easier over time if you decide to keep using it. It’s a 16mm tip and comfortable to use, so I’ll keep using it, but since it’s removable, you can also use a different tip if you have one.
Top Cap
The top cap comes off with a quarter turn. It comes off easily, but I think it’s a little too easy. It feels a little loose. And I worry that it could come off in my pocket. The threads also feel a little crunchy. The threads don’t feel good on the base of the tank either, just as a side note.
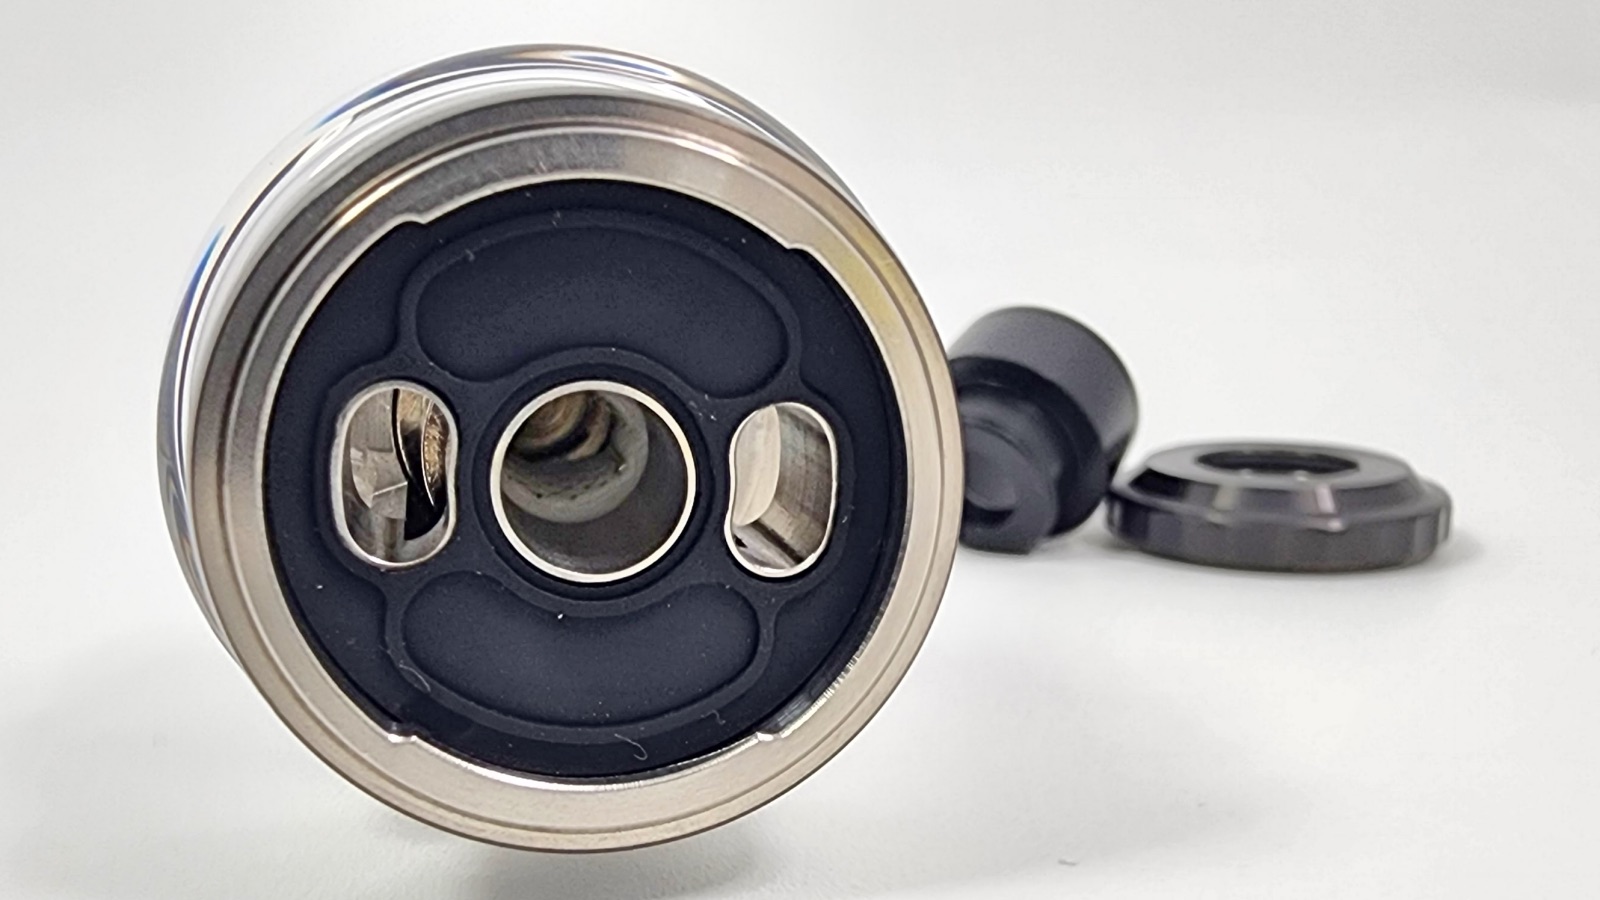
But once it’s off, you’re able to fill up the tank through the big liquid fill holes.
Airflow
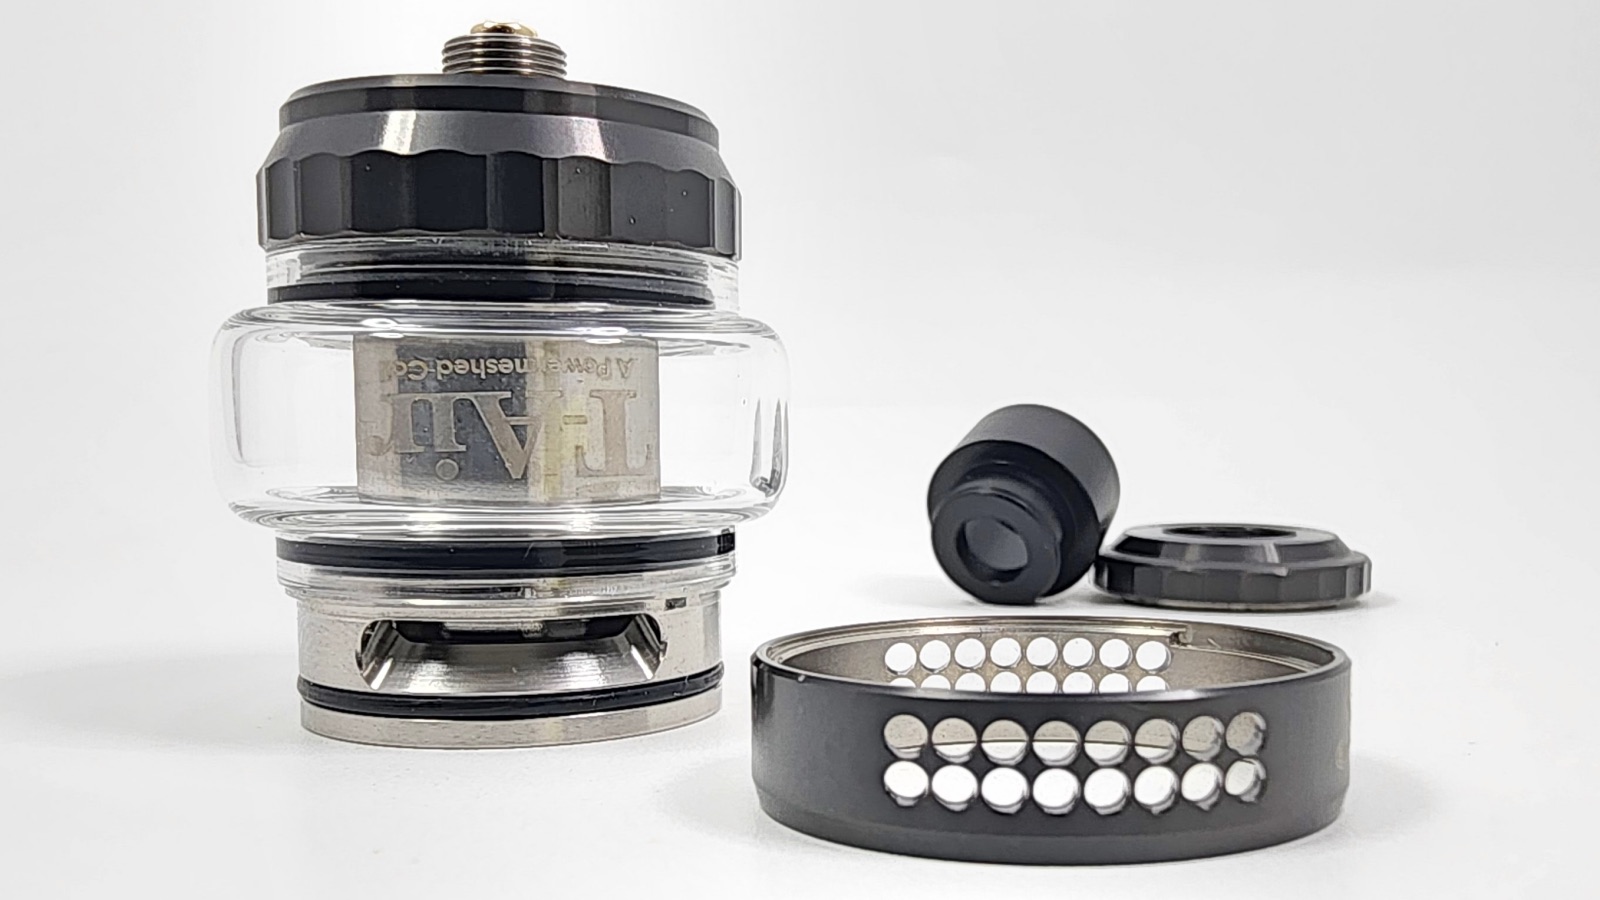
The top-down airflow design is efficient and delivers a smooth vaping experience. SMOK says they’ve shortened the airway to prevent loss of air and to increase flavor. That seems true in my case. The flavor is great, but I think that also comes from their great coils too.
There are large honeycomb airflow slots on both sides of the tank. There are 16 holes on each side, so 32 in all. And you can close these off two at a time, or rather four at a time because if you close two on one side, it closes two on the other side. But all of these airflow holes give you a lot of control over how much airflow you allow into the tank.
With all of the airflow holes open, you get a pretty good lung hit. It’s a little turbulent but not terrible. When I close it down halfway, it’s still a good loose hit but much smoother. And if you only have a couple of airflow holes open, you can get a nice short restricted lung draw.
The airflow control ring moves smoothly and comes to a stop at both ends. I’ve noticed a little bit of play above and below the airflow ring, so I think that could have been manufactured a little better, but it’s very minor.
The airflow control ring also comes off, making it super-easy to clean the condensation or liquid that ends up behind it.
Coils
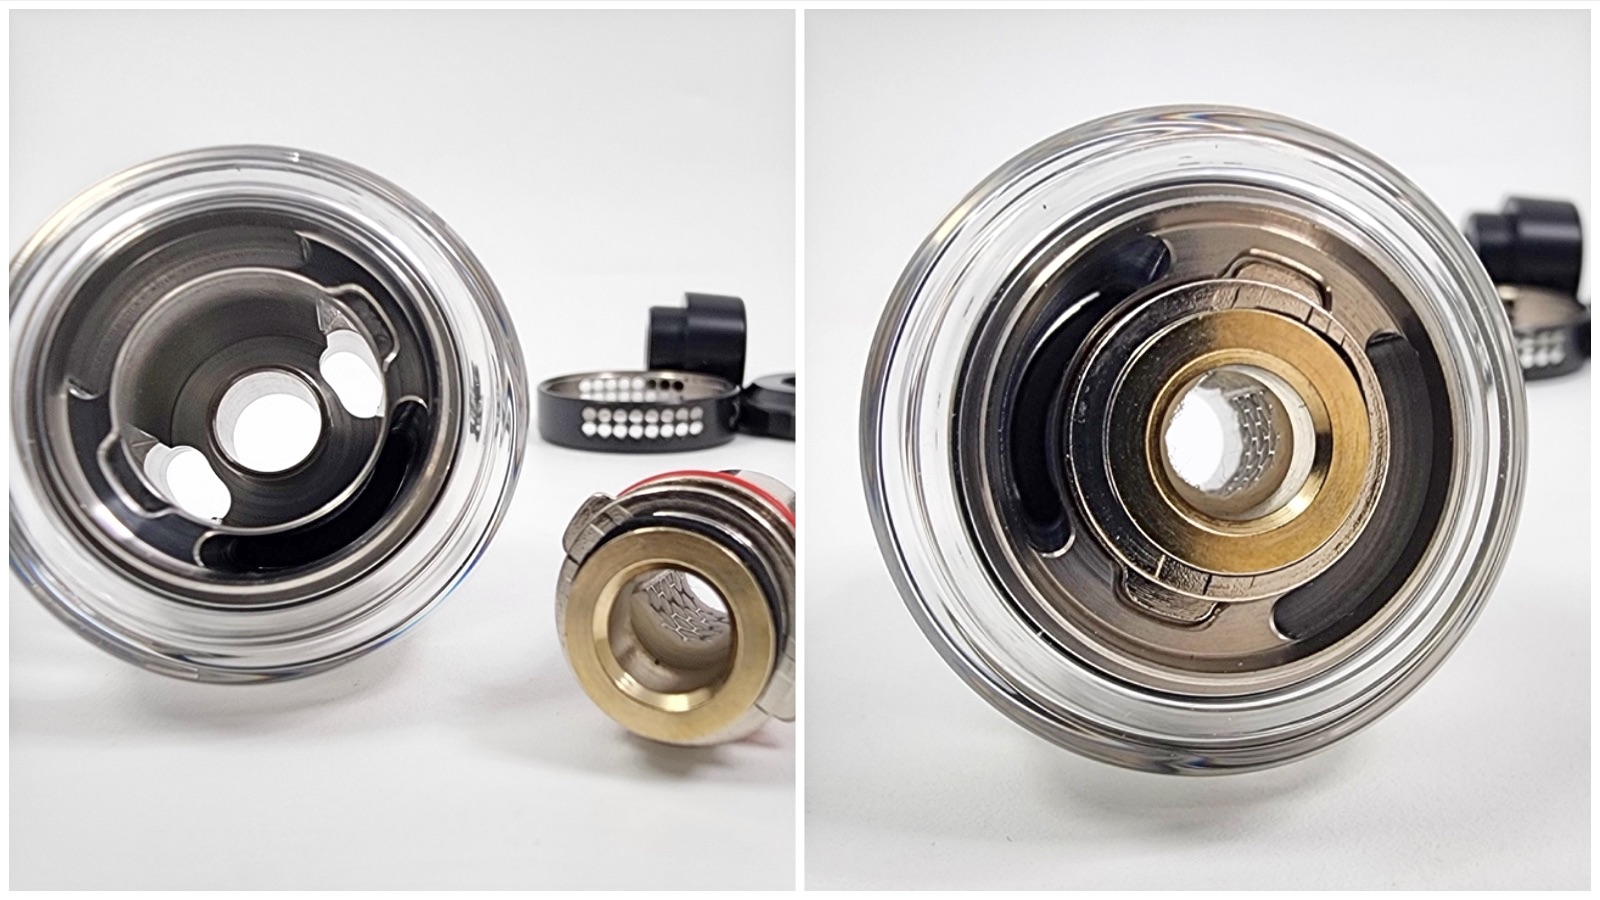
The coils are plug-and-play, so they press-fit right into the bottom of the tank and are easy to install and swap out. They have little tabs that fit into cutouts on the tank, so you just want to make sure you have those tabs in place so that the coil is sealed well.
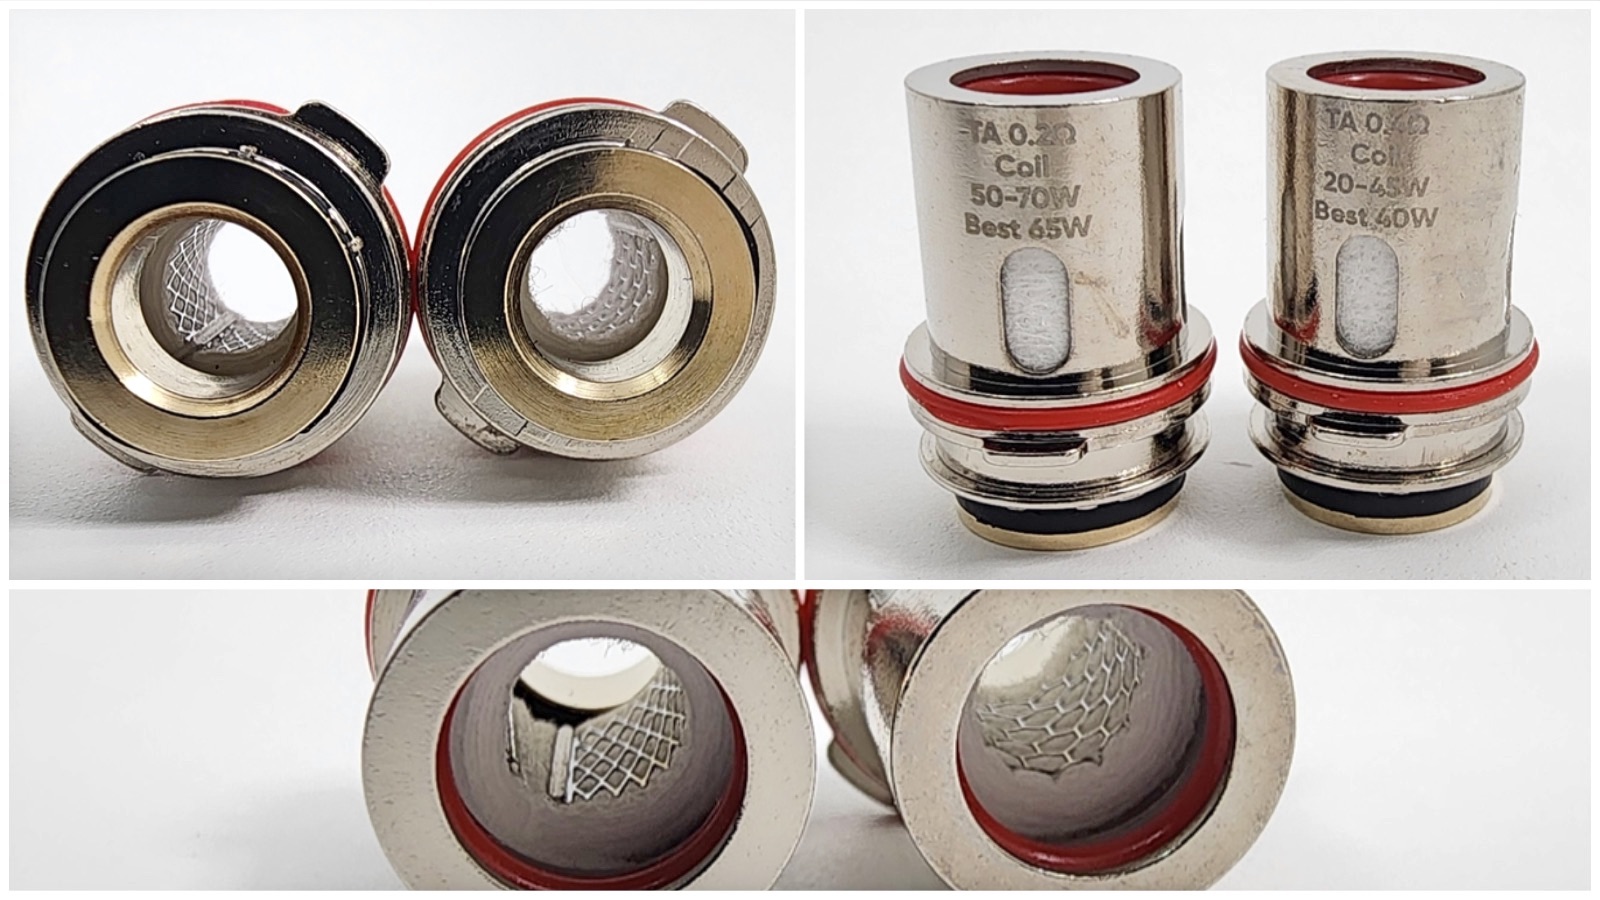
The kit comes with two coil heads:
TA 0.2 Ohm: This is a 2-in-1 single meshed coil, which means it’s two mesh screens welded together to make one single screen. I don’t know if there’s any benefit to that, but they point it out as a feature on their website. This coil is rated for 50-70 watts with a suggested wattage setting of 65 watts. 65 watts does seem pretty good to me. 70 works just fine too. But 50 watts feels too low, but it’s probably fine if you like a much cooler vape. The flavor is good in all cases.
TA 0.4 Ohm: This is a single meshed coil, so one single mesh screen. This coil is rated for 20-45 watts but is recommended to use at 40 watts. Like the other coil, the lowest recommended wattage feels way too low. At 20 watts, I wasn’t getting much vapor at all, and I had to hit that thing until the 8-second timer stopped it. 40 to 45 watts worked great. I could get a good warm hit in just a few seconds.
The flavor output is good from both coils, and they seem to have a good lifespan in my tests.
And not in the kit, but also available for this tank, is the TA 0.15 Ohm dual coil. This one is rated for 40-60 watts but is recommended for 55 watts.
Performance
The T-Air SubTank offers a pretty good vaping experience. The vapor production is good, the airflow works well, and the flavor is on point. If it weren’t for the manufacturing issues I ran into, like the leaking, the play in the airflow ring, the crunchy threads, and the slightly loose top cap, this would be a good tank, because it performs nicely.
Final Thoughts
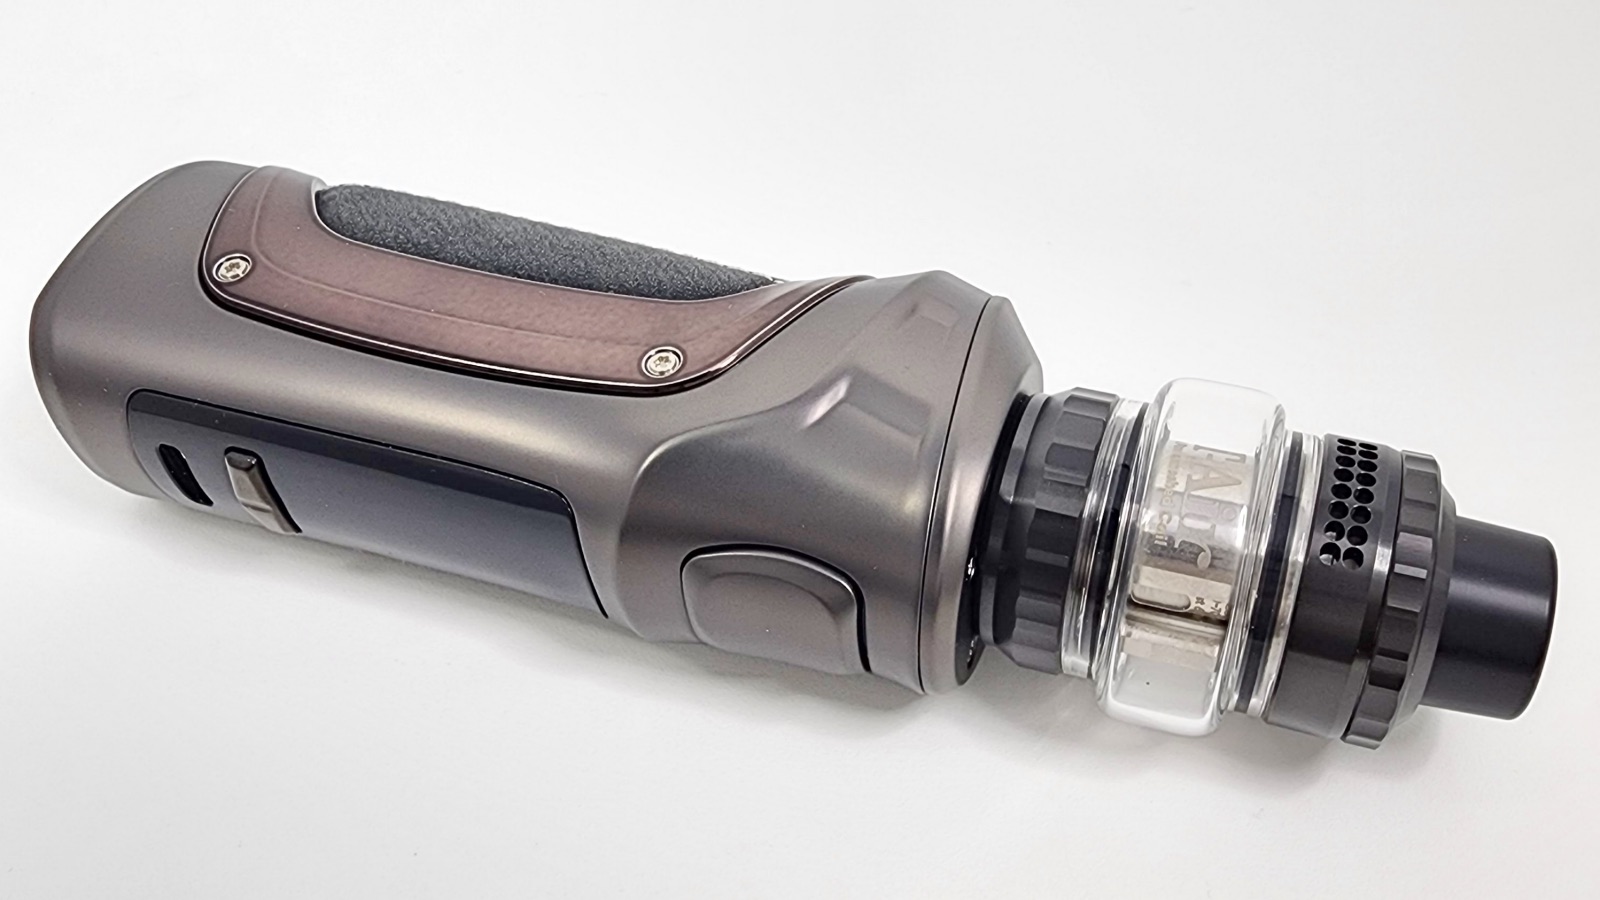
The SMOK MAG Solo is beautifully designed, and the performance is top-notch. It’s super easy to use, the menu system is simple, the screen is beautiful, and it’s comfortable to hold and use.
The T-Air SubTank is a decent addition to the kit because it performs well and the flavor is great, but it has just a bit too many flaws for me to recommend it as something worth buying separately. The leaking really turned me off of it. Admittedly, the leaking went away after draining the tank and adjusting the coil, but it doesn’t leave me confident in using it.
But if you’re in the market for a reliable and stylish single-battery mod that uses either 21700 or 18650 batteries, the MAG Solo is worth considering. I personally love the device.
The MAG Solo Kit was sent to me for review from VapeSourcing.com, and you can get it from them for $60.99, or you can get the MAG Solo without the tank for $39.99.

what tipe coil this atomizer use ?
The tank uses SMOK TA Coils