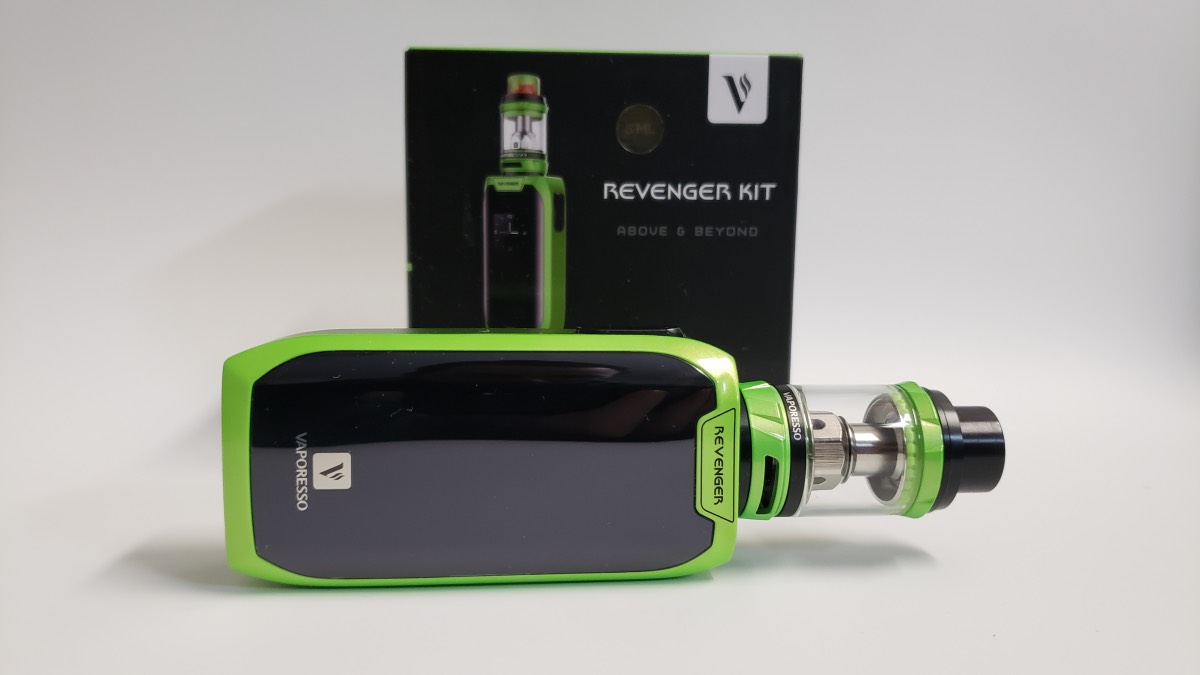
This kit was sent to me for review from BuyBest.com. It’s a bit of an older product that came out about a year ago, but it’s got a lot of power, the tank has great flavor, and the whole thing looks really cool, so it definitely holds up to today’s standards.
In the Box:
- The Revenger (without batteries)
- An NRG tank
- A Replacement Pyrex Glass Tube
- USB Cable
- Two coil heads; GT8-0.15ohm (50-110W) and GT4-0.15ohm (30-65W)
- Accessories: Spare o-rings, 510 drip tip adapter, vape band
- $57.69 from BuyBest.com
Specs of the Revenger:
- Dimensions: 89 x 45 x 28mm
- IML (In Mould Labeling) Injection Coating
- Real-time clock
- 0.96 inch OLED Screen
- 5 watts to 220 watts
- Resistance Range: 0.05 – 0.5ohms
- Temp Control (Ni200,SS,Ti) and TCR (M1, M2)
- Requires two 18650 batteries
- 2.5 amp quick charging
- Firmware upgradeable
Specs of the NRG Tank:
- 5ml e-juice capacity
- Size: 26.5 x 56mm
- Coils: GT8-0.15ohm (50-110W) and GT4-0.15ohm (30-65W)
- Colors: Blue, Green, Silver, Black, Red, Gold, Rainbow, and Orange
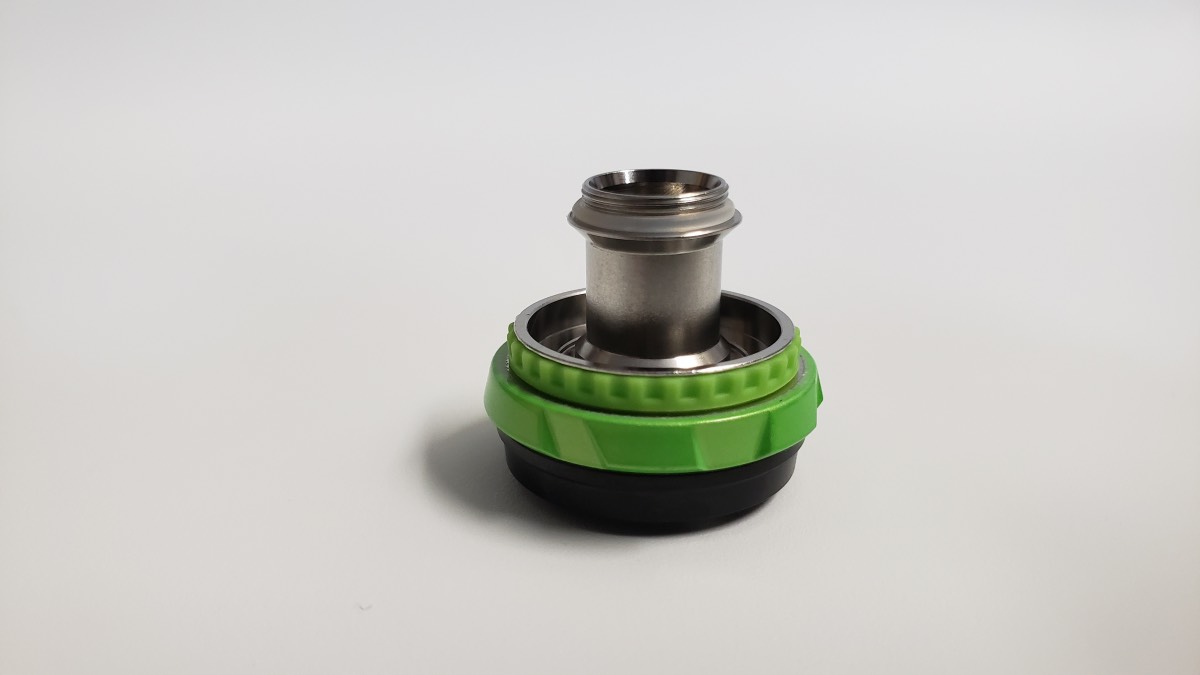
The Vaporesso NRG Tank
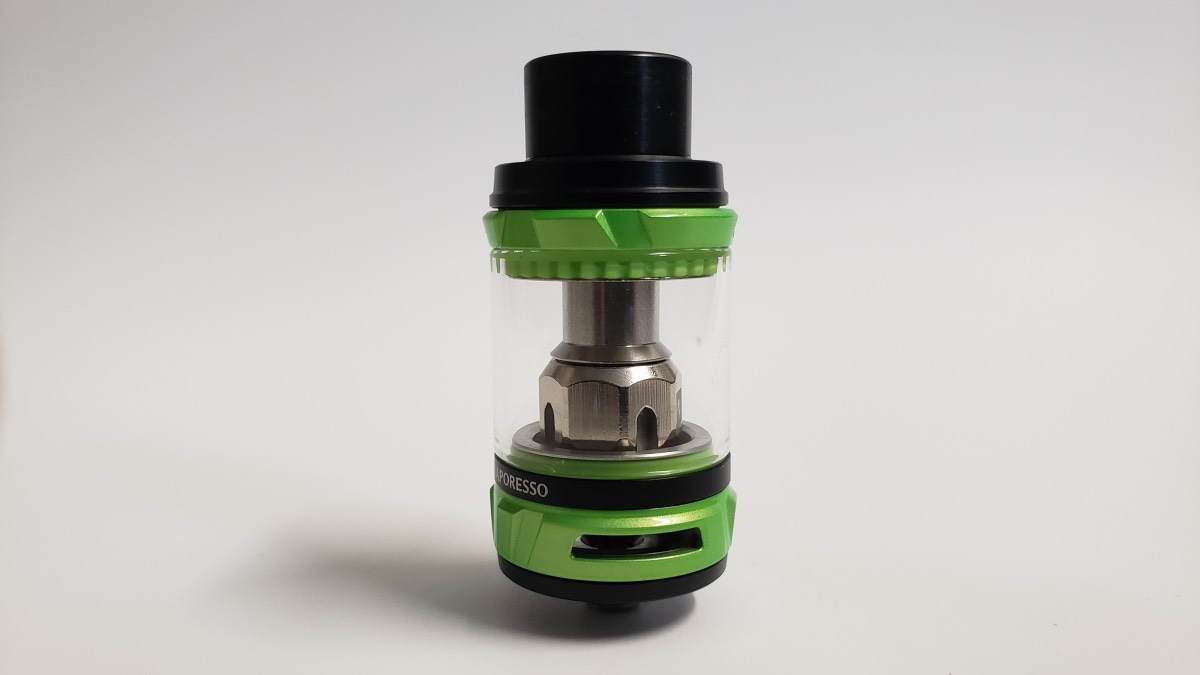
The design of the tank is pretty nice. I love the bright green color and how it matches the device. It really looks great.
Drip Tip
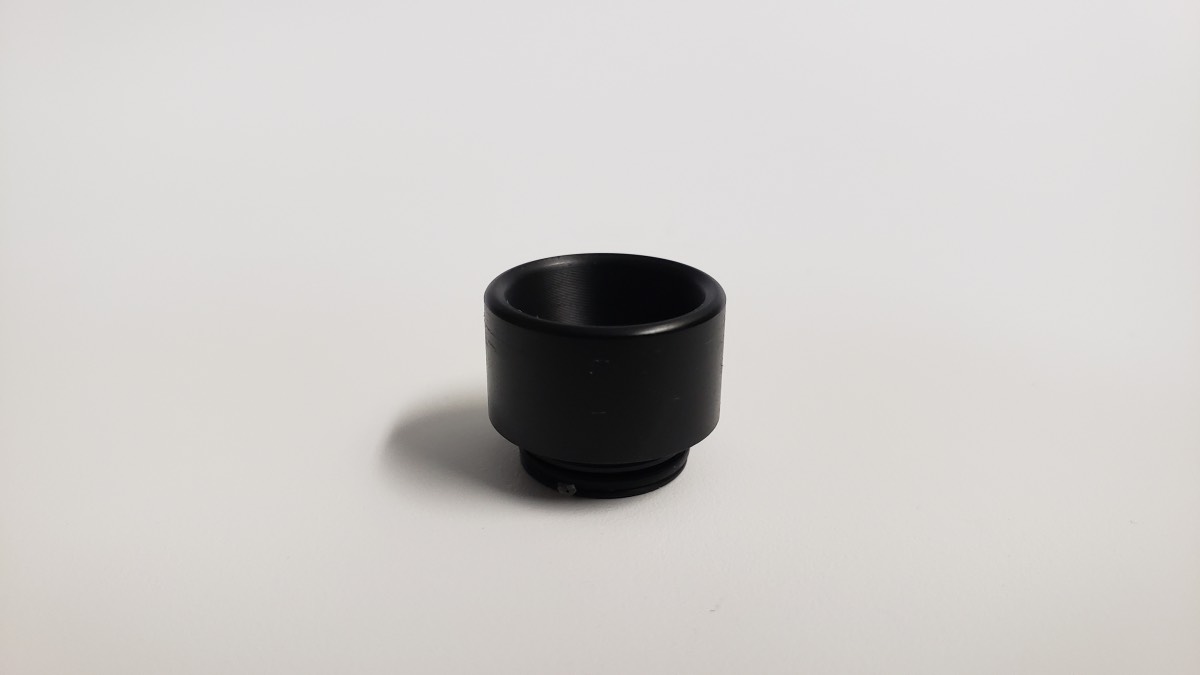
The drip tip is an 810 drip tip, but it also has a little lip that covers the protruding piece on the top cap. The o-rings are also on the drip tip rather than in the top cap, which means that you’ll need the same type of drip tip if you want to use something different. So with those things in mind, that pretty much limits you to using only the included drip tip. You can use other tips on here, but they don’t fit well and they don’t look great.
Top Cap and Filling
The top cap has a nice flip-out cover which makes it easy to fill. There’s a little arrow on the top showing you where to push. I’m always a fan of these types of filling systems. I don’t really like that it only opens halfway because it limits the space you have to get the e-juice bottle in there to fill it up but it’s still a handy feature.
I have one other complaint about the fill port section and it’s that when you first get the tank, it’s sooo hard to get the glass off. Normally I wouldn’t complain about something that seems so minor but it seriously took like 10 minutes to get off and my fingers hurt so bad for two days. It was ridiculous. I was prying it off with a knife, box cutter… It was frustrating. But once I got it off, it was easy to take off after that.
Coils

The tank comes with two different coil heads, which is nice to see. I think every tank should come with as many different coil heads as possible so that customers can try out every version to find the one they like the most.
There are only two coil heads in here, but the NRG tank can use three other coils that handle even higher wattages. There’s also a ceramic coil available.

GT8-0.15ohm (50-110W)
This coil performs great at 50 watts with a cool vape and good flavor. At the recommended max of 90 watts, the flavor is pretty good. And at the absolute max listed on the coil of 110 watts, the flavor is still very good and I could just hit it over and over and not get a dry hit. These coils work nice.
GT4-0.15ohm (30-65W)
I tend to prefer higher wattages but this coil actually performs very well at it’s lowest setting of 30 watts. It’s a cool vape, but it has a lot of flavor and a good amount of vapor too. If you push it up to its max of 65 watts, the flavor gets even better, but it feels like 65 watts is really pushing this coil. You probably don’t want to push this one any further and I think it runs better around 60 watts.
For all of the different versions of coils, replacements range from around $12 – $15 for a pack of three coil heads.
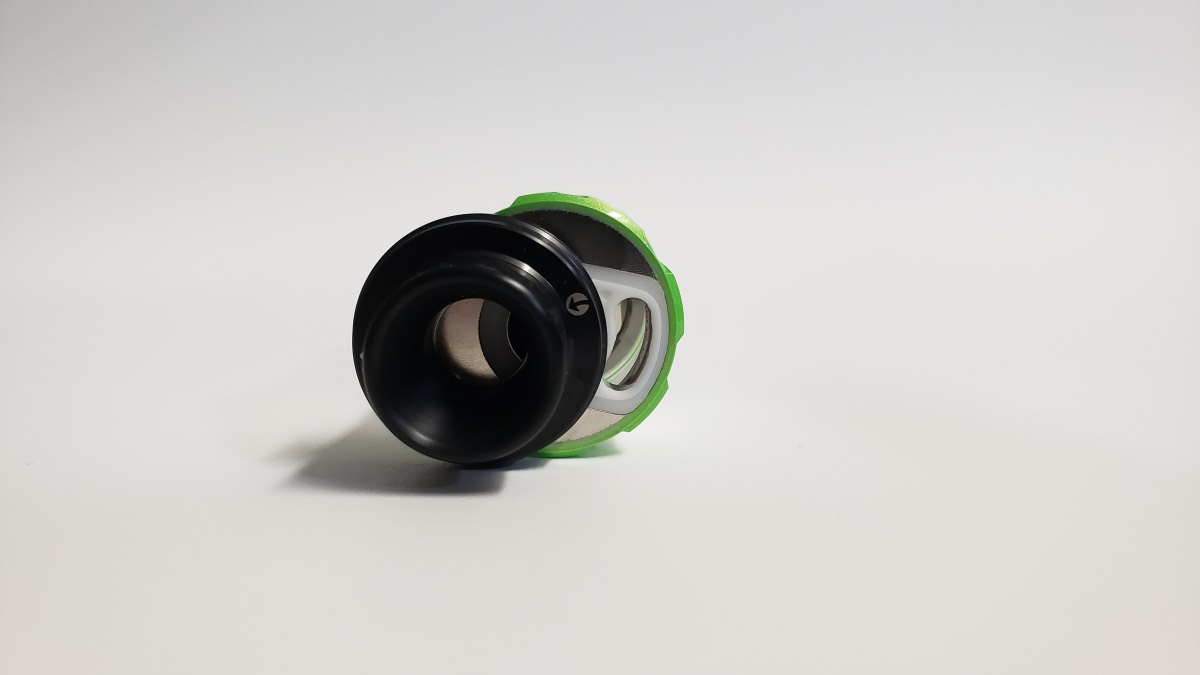
Airflow

There are two airflow slots on the bottom of the tank. The airflow slots are really big, but due to the restriction within the tank and maybe the coils, it’s not as airy as you’d expect. It still has a lot of airflow though, which of course it needs to fire those GT8 coils at 110 watts.
And you can close it down as much as you need if you want to run lower wattages on the GT4 coils. The airflow is smooth and it feels smooth no matter how open or closed it is.
And that airflow control ring moves very smoothly. It seems machined very well.
Flavor
The flavor is impressive for these coils. It’s not like the flavor you’d get from a newer mesh coil, but if you get this tank, I think you’ll be happy with the flavor.
Final Thoughts on the Tank
That’s about it for the tank. It pushes high wattage if you want it or as low as 30 watts with the GT4 coil, so you have those options. And the flavor is good too. It’s not the most flavorful tank ever, but the flavor is good.
The Vaporesso Revenger Device
I really like the design of the Vaporesso Revenger. I love the big black shiny panels and the bright colored accents of the body. Those panels are fingerprint magnets though, so you’ll be wiping this one down a lot if that bothers you. The version I got is a bright green, which I also like a lot, but there are other colors too, like gold, red, black, pink, grey, and blue.
It’s also very comfortable to hold and it’s a good size at 45mm wide, 89mm tall, and 28mm thick. And it’s very light. Most of the weight seems to come from the batteries.
The screen is a nice, bright 0.96″ OLED screen. The screen shows your battery life, output mode, resistance, voltage, wattage, and how your draw is while you’re vaping.
The OMNI Board 2.0 Chipset
The Revenger uses a chipset that Vaporesso calls the OMNI Board 2.0. That might have been a big deal a year or so ago when this was new, but it performs pretty typical of a lot of devices these days. It does have a lot of features though, so it is a very nice chipset.
It pushes 5 – 220watts, it handles a resistance range of 0.05 ohms to 5 ohms, and there are lots of different modes and features.
It also fires very fast, which is always good to see on a proprietary board.
When you put a new atomizer on, it asks if it’s a new load or old load. The buttons aren’t labeled positive or negative and the screen doesn’t place one option above a specific button, so it’s hard to remember what button to push. It’s a small detail that they missed and it’s annoying.
Modes and Features
The firing button is here on the side and it’s very clicky. 5 clicks turn it on and 5 clicks turn it off.
There’s a big bright OLED screen here in the middle that gives you your battery life, the mode you’re in, what your atomizer ohms out to, the voltage setting, wattage setting, and a bar at the bottom that tells you how long your hit is.
Below the screen are three buttons, the up button, mode button, and the down button. Those are pretty self-explanatory. Raise or lower your wattage, voltage, or temperature and change modes.
If you click the Mode button three times, you can switch between Variable Wattage mode or Custom Curves mode. If you’re in a temperature control mode, the TCR option will also show up, which lets you customize the device for the resistance of the specific wire that you’re using.
Custom Curves
If you’re not familiar with custom curves, this lets you adjust the wattage or temperature of your vape for every second of your hit. So you can set it to 220w on the first second, 100 watts on the next second, up again for the third second, and so on. Whatever you want. They let you set this for up to five seconds. I’m not sure why they don’t let you adjust for a full 10 seconds, but at least you can do five.
To change modes, hold the mode button for a couple seconds. There are temp control modes for stainless steel, nickel (ni200), titanium, Memory 1, Memory 2, Bypass mode, and then you’ll hit System Settings and back to Wattage mode.
The temp control modes work as you’d expect. It can adjust from 100-315 Celcius or 200-600 Fahrenheit.
The memory modes are designed for temp control and let you set the TCR values for whatever wire you’re using, so if you use a non-typical wire, you can put it in the memory so that you don’t have to set it manually all the time.
Bypass mode is like using a mech mod by powering your atomizer based on the charge of your batteries, but you still have the safety features of a regulated device.
One thing I don’t like about the mode button is that you have to slowly navigate through every mode every time, which sucks when you accidentally pass the mode you want to use or if you want to get to the settings. It’s slow and clunky.
That’s really it for the modes. So let’s look at System Settings
System Settings:
To get into the System Settings, click the button three times while on the menu. From there, you can use the up and down buttons to go through the menu and hold the menu button to get into each setting.
- VW: Normal, Hard, Soft
- VT: The wattage you want it to start at
- Time Set: Date, Time, Clock Style
- Default: Reset all settings
- Smart On / Off: Auto-sets wattage based on resistance of the coil
- Screen Timeout: 3 seconds to 60 minutes (how long the clock shows)
- Brightness
- Puff Counter: Shows puffs and a reset option
- Exit
So a couple of things to mention about some of these modes. The Normal, Hard, and Soft modes are designed to give you more or less power as soon as you fire it. So if you want it to ramp up fast, you can set it to hard, but if you use this at high wattage, I’ve found that it fires so hot and so fast that it can burn the coil. Hard mode also seems to fire hot and then drop way down after a second which feels weird. Personally, I’ve found that I like to stick to Normal mode.
One thing to mention with the smart mode is that it’s hit or miss. For example, I put a 0.27 ohm RDA on top and it set the wattage to 45 watts. That’s just not enough power for that build. But it is helpful for putting you in the lower end of the right area to start making adjustments. I think it’s a good feature for someone still learning a new atomizer. When it’s on, you’ll see a little “s” on the home screen.
And then just a couple of extra features to mention. If you hold the up and middle button at the same time it locks the settings. You can still fire it, but you can’t change the modes or wattage. If you hold both the up and down buttons at the same time, it’ll flip the screen. If you hold the mode and firing button at the same time you can see your firmware version and serial number.
That’s it for the modes and features and as you can see, there’s a ton of features on this board. It’s a very nice chipset.
Charging & Batteries

This is a dual 18650 device that has the ability to charge the batteries at a quick charge rate of 2.5A using the internal USB charging cable. It’s a really nice high-quality cable too.

To get to the batteries, just pull off the plate. It’s a very sturdy metal plate and it has really strong magnets holding it place.
The battery sled doesn’t have a ribbon in here to pull the batteries out, but you don’t need one. The batteries stick up enough that they’re easy to pull out. One complain I have here is that the positive and negative labels in the sled are really hard to see. A little annoyance, but an annoyance nonetheless.
Clock
When the screen times out, you’ll see the clock. One of the more unique features of the Revengers is that it has a clock on it. You can change between a digital clock or a traditional clock with hands. I actually think this is a pretty neat feature, although I’ve learned that it’s not useful for me because I remove the batteries every night. For safety reasons, I never leave batteries in any of my devices overnight. But when you remove the batteries from the Revenger, the clock stops. That means every morning I would have to reset the time. That’s just not worth it to me, so I don’t use the clock. But I still think it’s a cool feature.
Final Thoughts
This entire kit is very nice, even if it is a year old. The design is sleek and the features are so robust that it feels like it could have been released today. There are minor pros and cons for both the tank and the device, but overall, it’s a really nice setup. It’s pretty complex so it might be overwhelming for newer vapers, but you have all the features you could want, and probably more than most people will ever use. And the tank has great flavor too.
BuyBest.com sent this to me for review, so if it sounds like something you’re interested in, you can grab it from their site for $57.69.
Alex is a former smoker who successfully quit smoking after 14 years by switching to vaping. Now a pro-vaping advocate, Alex has become a seasoned expert with over a decade of experience in the vaping industry. Since starting his vaping journey in 2010, Alex has earned a reputation as a trusted reviewer, extensively testing all types of vape gear, including mech mods, sub-ohm tanks, RDAs, disposables, e-juices, boro devices, squonkers, dry herb vaporizers, and e-rigs. He’s also explored the craft of coil building and DIY e-juice.
Since 2015, Alex has published more than 800 in-depth articles on vaping, produced over 500 videos covering product reviews, industry news, and tips, contributed to several well-known vape publications, and hosted a popular vaping podcast featuring over 100 episodes and nearly 40 hours of content.